Home instance of NextCloud with Leap Micro 5.4, Leap Micro 5.2 is EOL, Leap 15.5 enters RC
27. Apr 2023 | Lubos Kocman | CC-BY-SA-3.0
This week was a busy week!
Leap 15.5 enters the Release Candidate phase! According to the roadmap users can expect the final release shortly after the openSUSE Conference 2023 on June 7th.
The final release of our immutable HostOS Leap Micro 5.4 is now available. This update brings SELinux in enforcing mode by default as well as tuning. Leap Micro is not a traditional distribution, but rather a lightweight HostOS for running virtual machines and containerized workloads.
The availability of Leap Micro 5.4 automatically marks Leap Micro 5.2 as End of Life. From this point, Leap Micro 5.2 will no longer receive updates.
To remain secure, Leap Micro 5.2 users can either do a fresh deployment, which should be under 5-minutes, or upgrade.
Leap Micro 5.3 users can still remain on the existing release and enjoy updates until the next Leap Micro release is out, which should be in Fall 2023.
Users who would like to receive support and updates for up to 4 years for a given release should consider switching to SLE Micro.
Users can upgrade to Leap Micro 5.4 by running the following command
sudo transactional-update shell
zypper --releasever 5.4 dup
exit
reboot # Enjoy
Please bear in mind that we’re switching to SELinux enforcing by default, therefore you might have an easier life if you do a clean build instead. Especially on slower storage if you’d be subject to relabeling.
Let’s make some practical use of the new Leap Micro 5.4!
This article is a continuation of our previous practical hands-on article, which focuses on ad-free browsing at home with Pi-hole.
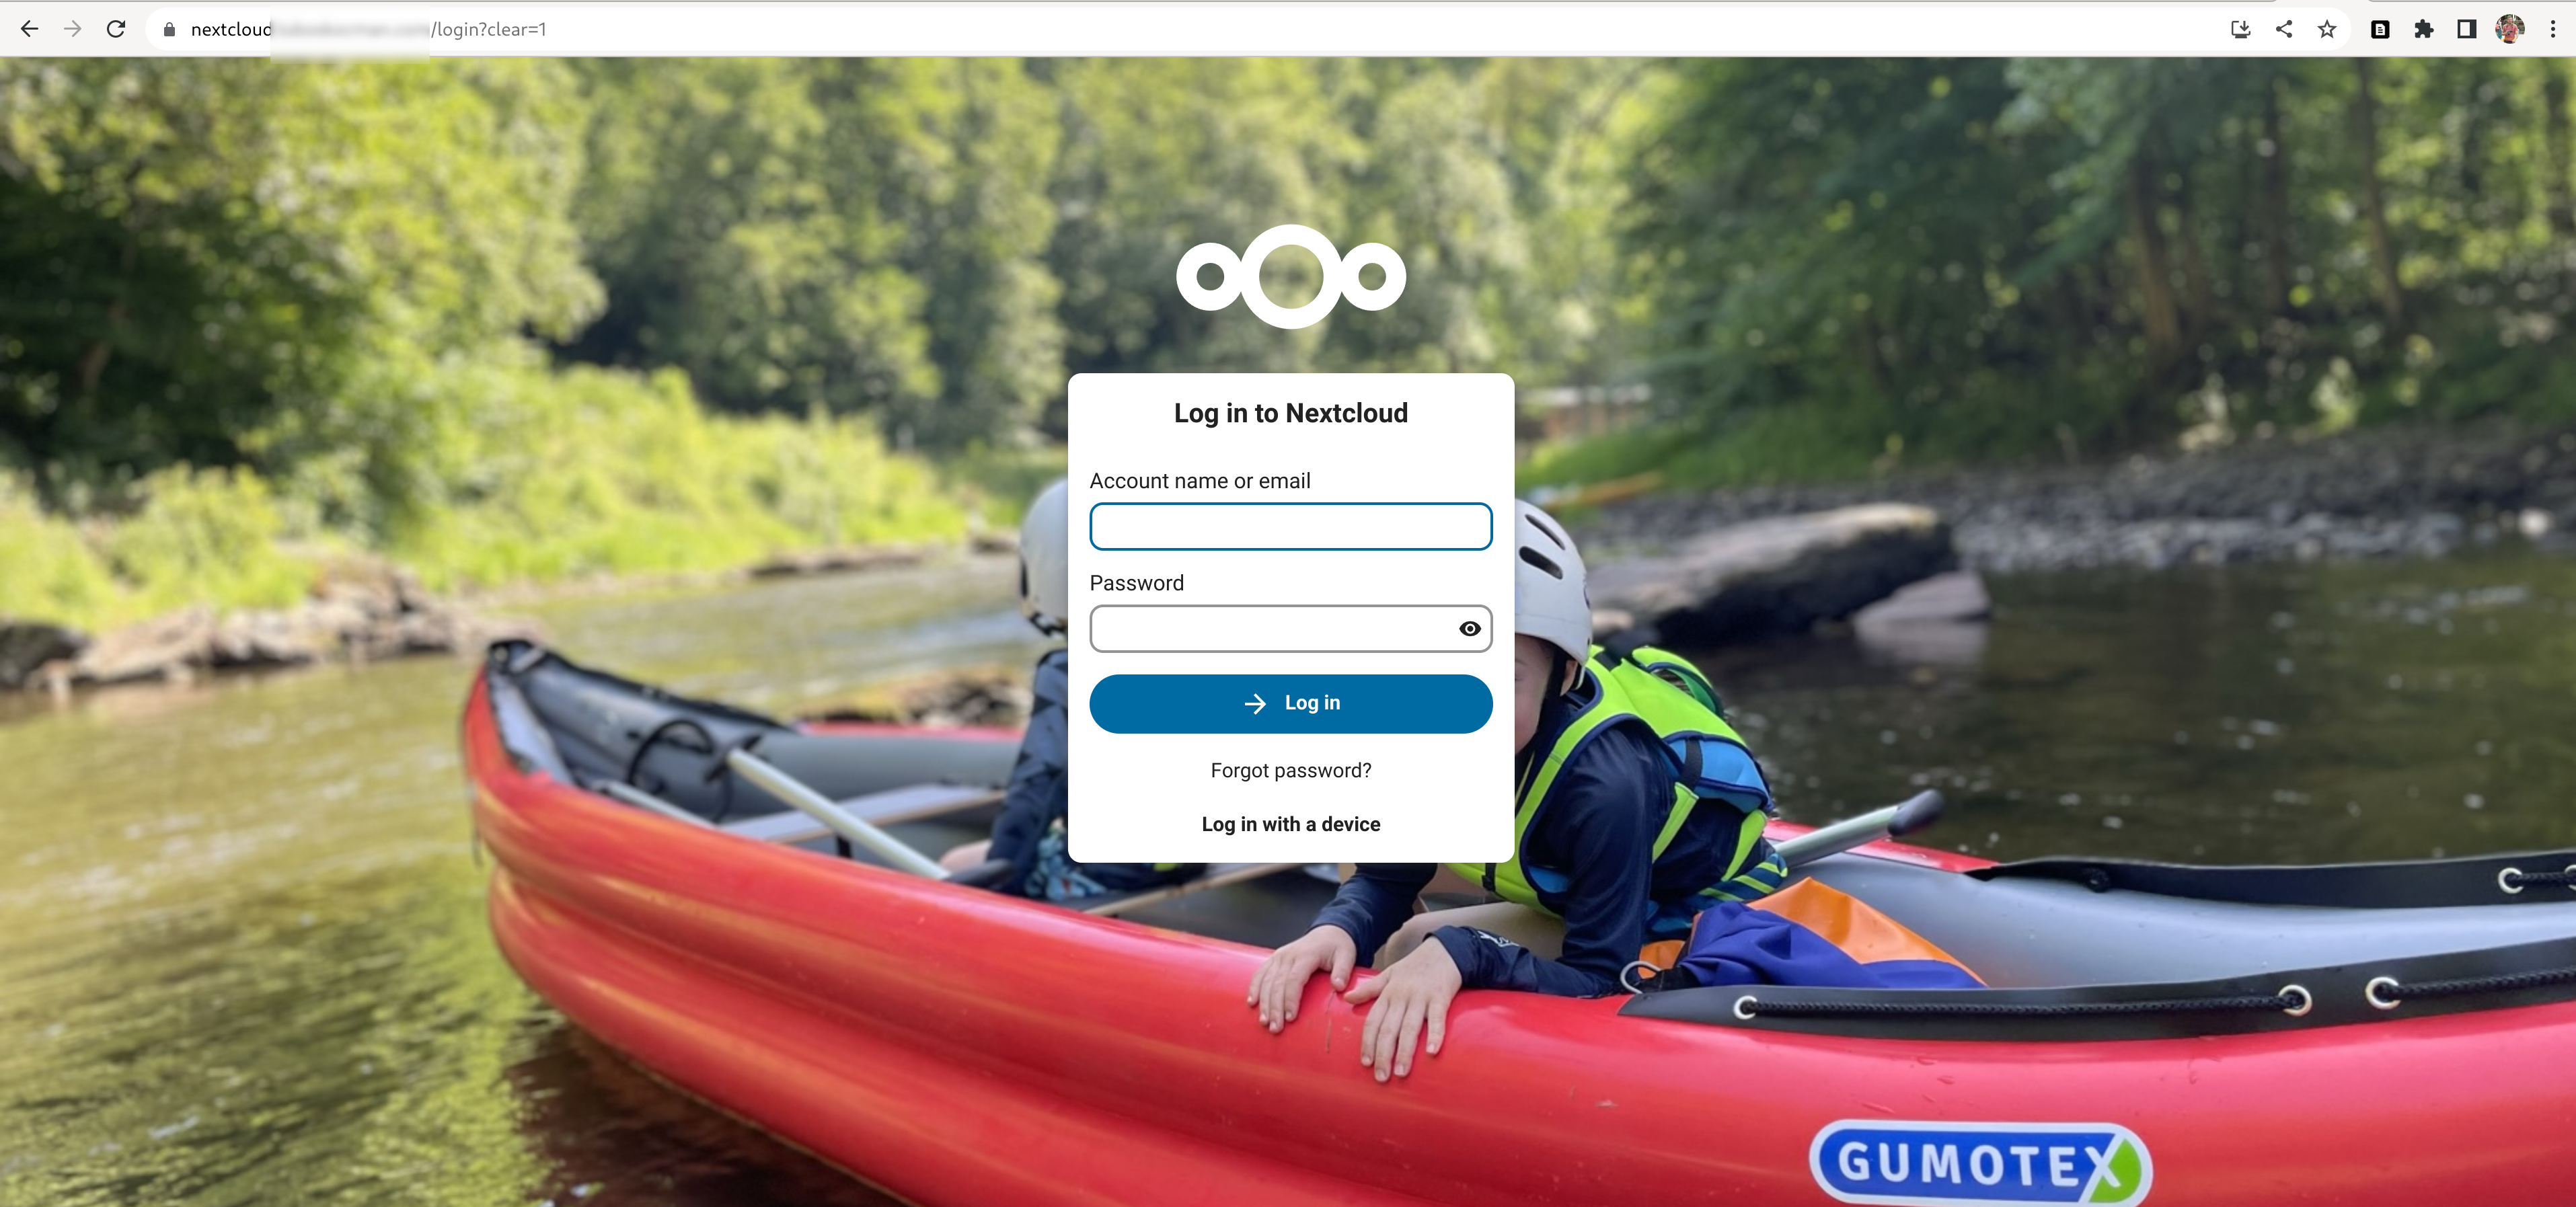
In this article, we’ll leverage our existing Pi-hole from the previous article and setup up a home instance of a Nextcloud AIO. Such a solution is appealing especially to users valuing their privacy or just like me looking to bridge Apple and Android devices.
This tutorial should take less than 15 minutes, on top of instructions the from previous hands-on.
Reference setup
My personal use case for Leap Micro is to have as much ad-free browsing as possible, DNS entries for local services, and a Nextcloud instance as a bridge to share pictures and videos in between my wife’s iPhone, kids’ tablet and my Android phone.
My private home setup is a Raspberry Pi 4 8GB with 1TB SDD connected via USB 3.0 to SATA III. I have a mesh via TP Link Deco X20. I do use port mapping from the Deco to expose services to the public via a static public IP. I have a public domain name with a few subdomains pointing to the mentioned public IP.
The public domain name is a prerequisite for the NextCloud AIO.
The Raspberry Pi has a reserved address based on its MAC address to keep stuff simple. If you have a dynamic public address, you can consider some dynamic DNS (DDNS) solutions.
I am personally happily using the described setup on my 8GB Raspberry Pi 4 with Leap Micro 5.3 along with Pi-hole for ad-free browsing and mapping of my Nextcloud instance to a local address.
I would not recommend to this particular hands-on in a VM unless you can deal with the public domain aspect of the tutorial.
The benefit I see in using Leap Micro is that the machine does not require any of my attention. I have automatic updates and self-healing on. The machine automatically reboots into an updated snapshot in the defined maintenance window (set by default) and if there is an issue that requires my attention, then I simply resolve the issue with the Cockpit interface in the web browser.
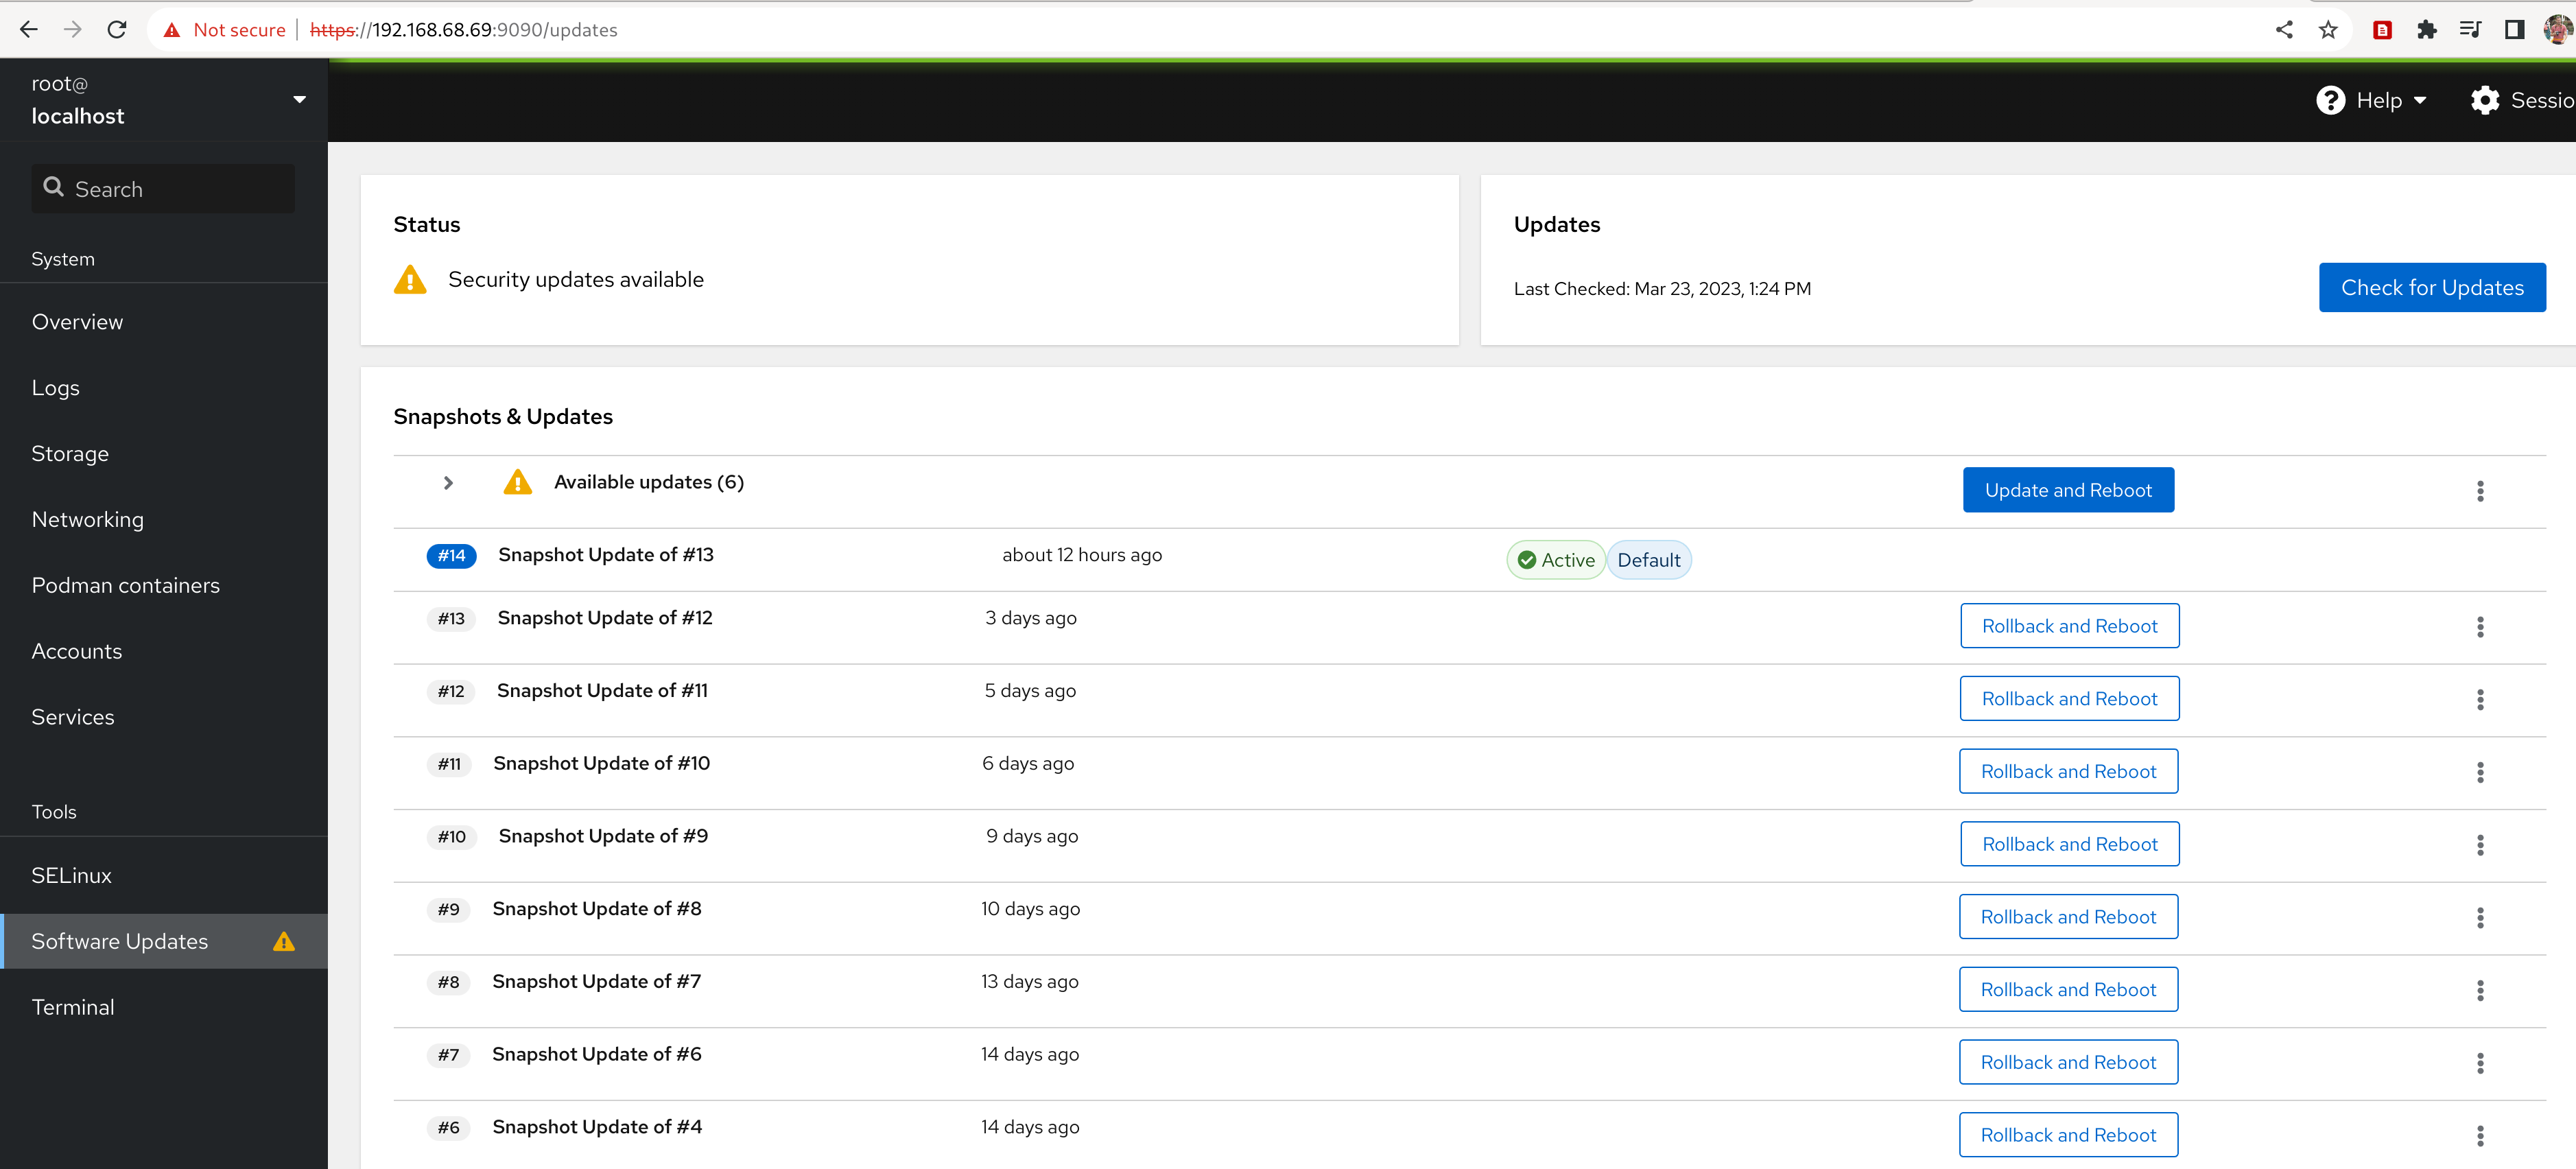
Leap Micro is an immutable operating system with a read-only root. openSUSE solves this via btrfs snapshots and tools that enable automatic rollback and boot into a previous snapshot in case a system identifies that the boot into a new snapshot has failed.
Existing setup
The user is expected to already have an existing Pi-hole setup running on top of Leap Micro 5.4 and their own public domain as described in the previous article.
Warning: Running Nextcloud AIO requires a public domain. Otherwise, you’ll hit SSL errors unless you use self-signed certificates, such setup would be outside the scope of this article, plus such a solution is not practical.
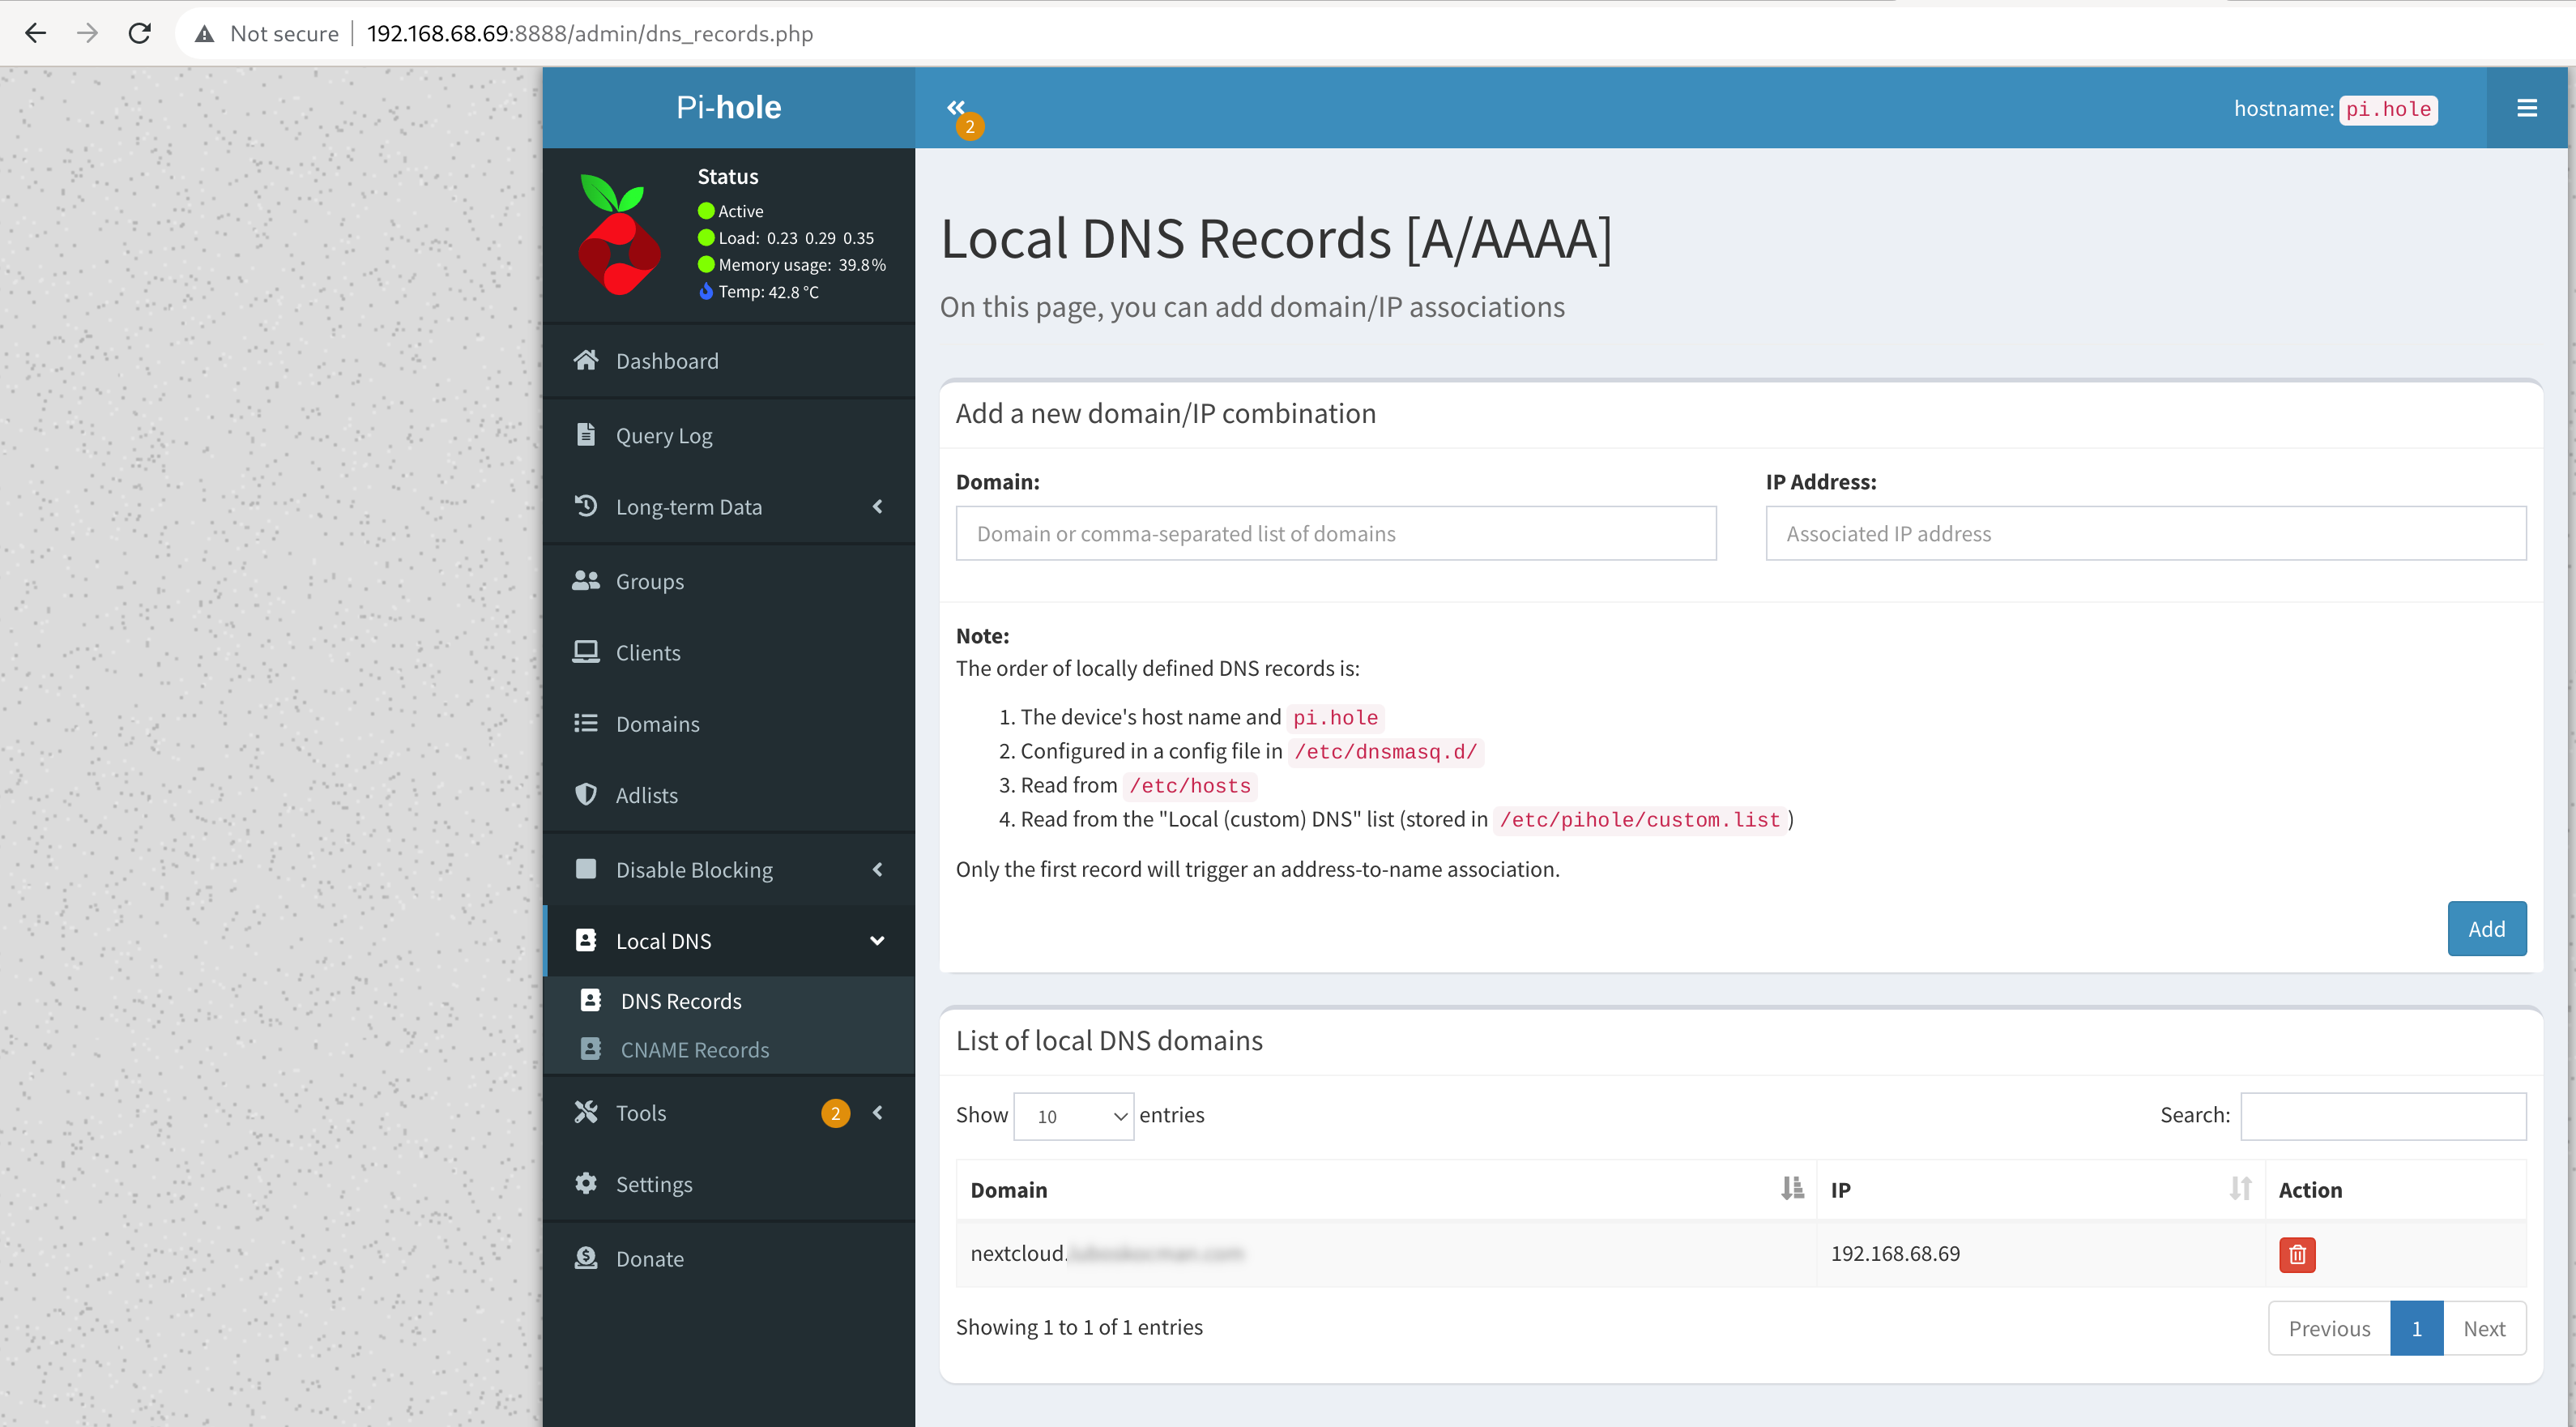
Making a local DNS entry for the NextCloud
For local access, a user should create a local DNS entry with a local IP address pointing to the intended domain nextcloud.mydomain.org.
Deploying the NextCloud AIO container
Just by following https://github.com/nextcloud/all-in-one I’ve tried to run the AIO image with just podman, however, the solution is very docker centric and you’d have to use podman-docker, which will only be available in the next Leap Micro release.
In my setup, I do have a 1TB disk mounted on the Leap Micro host under /srv/nextcloud.
Feel free to adjust NEXTCLOUD_DATADIR destination to your liking.
I personally had an issue with domain validation with my Pi-hole setup so I did use -e SKIP_DOMAIN_VALIDATION=true as per readme instructions.
Directories like /srv and /var are of course writable even on ImmutableOS.
If you’re using port mapping from your home router to expose services to the public, you’ll want to expose and map ports 80, and 8443 and 3478 (talk container) from the router to the Leap Micro host.
# mkdir -p /srv/nextcloud
My fstab entry for the btrfs formatted 1TB WD Blue SSD drive connected to my Raspberry Pi via AXAGON ADSA-1S6 USB to SATA connector.
You can get your UUIID with blkid
# grep nextcloud /etc/fstab
UUID="881ab56d-d577-4d12-8014-f5a76f3febe6" /srv/nextcloud btrfs noatime 0 0
And now let’s deploy the Nextcloud All in One image.
Just note that our deployment will survive reboot(s). I highly recommend skipping the domain validation (part of the example command), especially with described setup.
# docker run \
--sig-proxy=false \
--name nextcloud-aio-mastercontainer \
--restart always \
--publish 80:80 \
--publish 8080:8080 \
--publish 8443:8443 \
--volume nextcloud_aio_mastercontainer:/mnt/docker-aio-config \
--volume /var/run/docker.sock:/var/run/docker.sock:ro \
-e NEXTCLOUD_DATADIR="/srv/nextcloud" \
-e SKIP_DOMAIN_VALIDATION=true \
nextcloud/all-in-one:latest
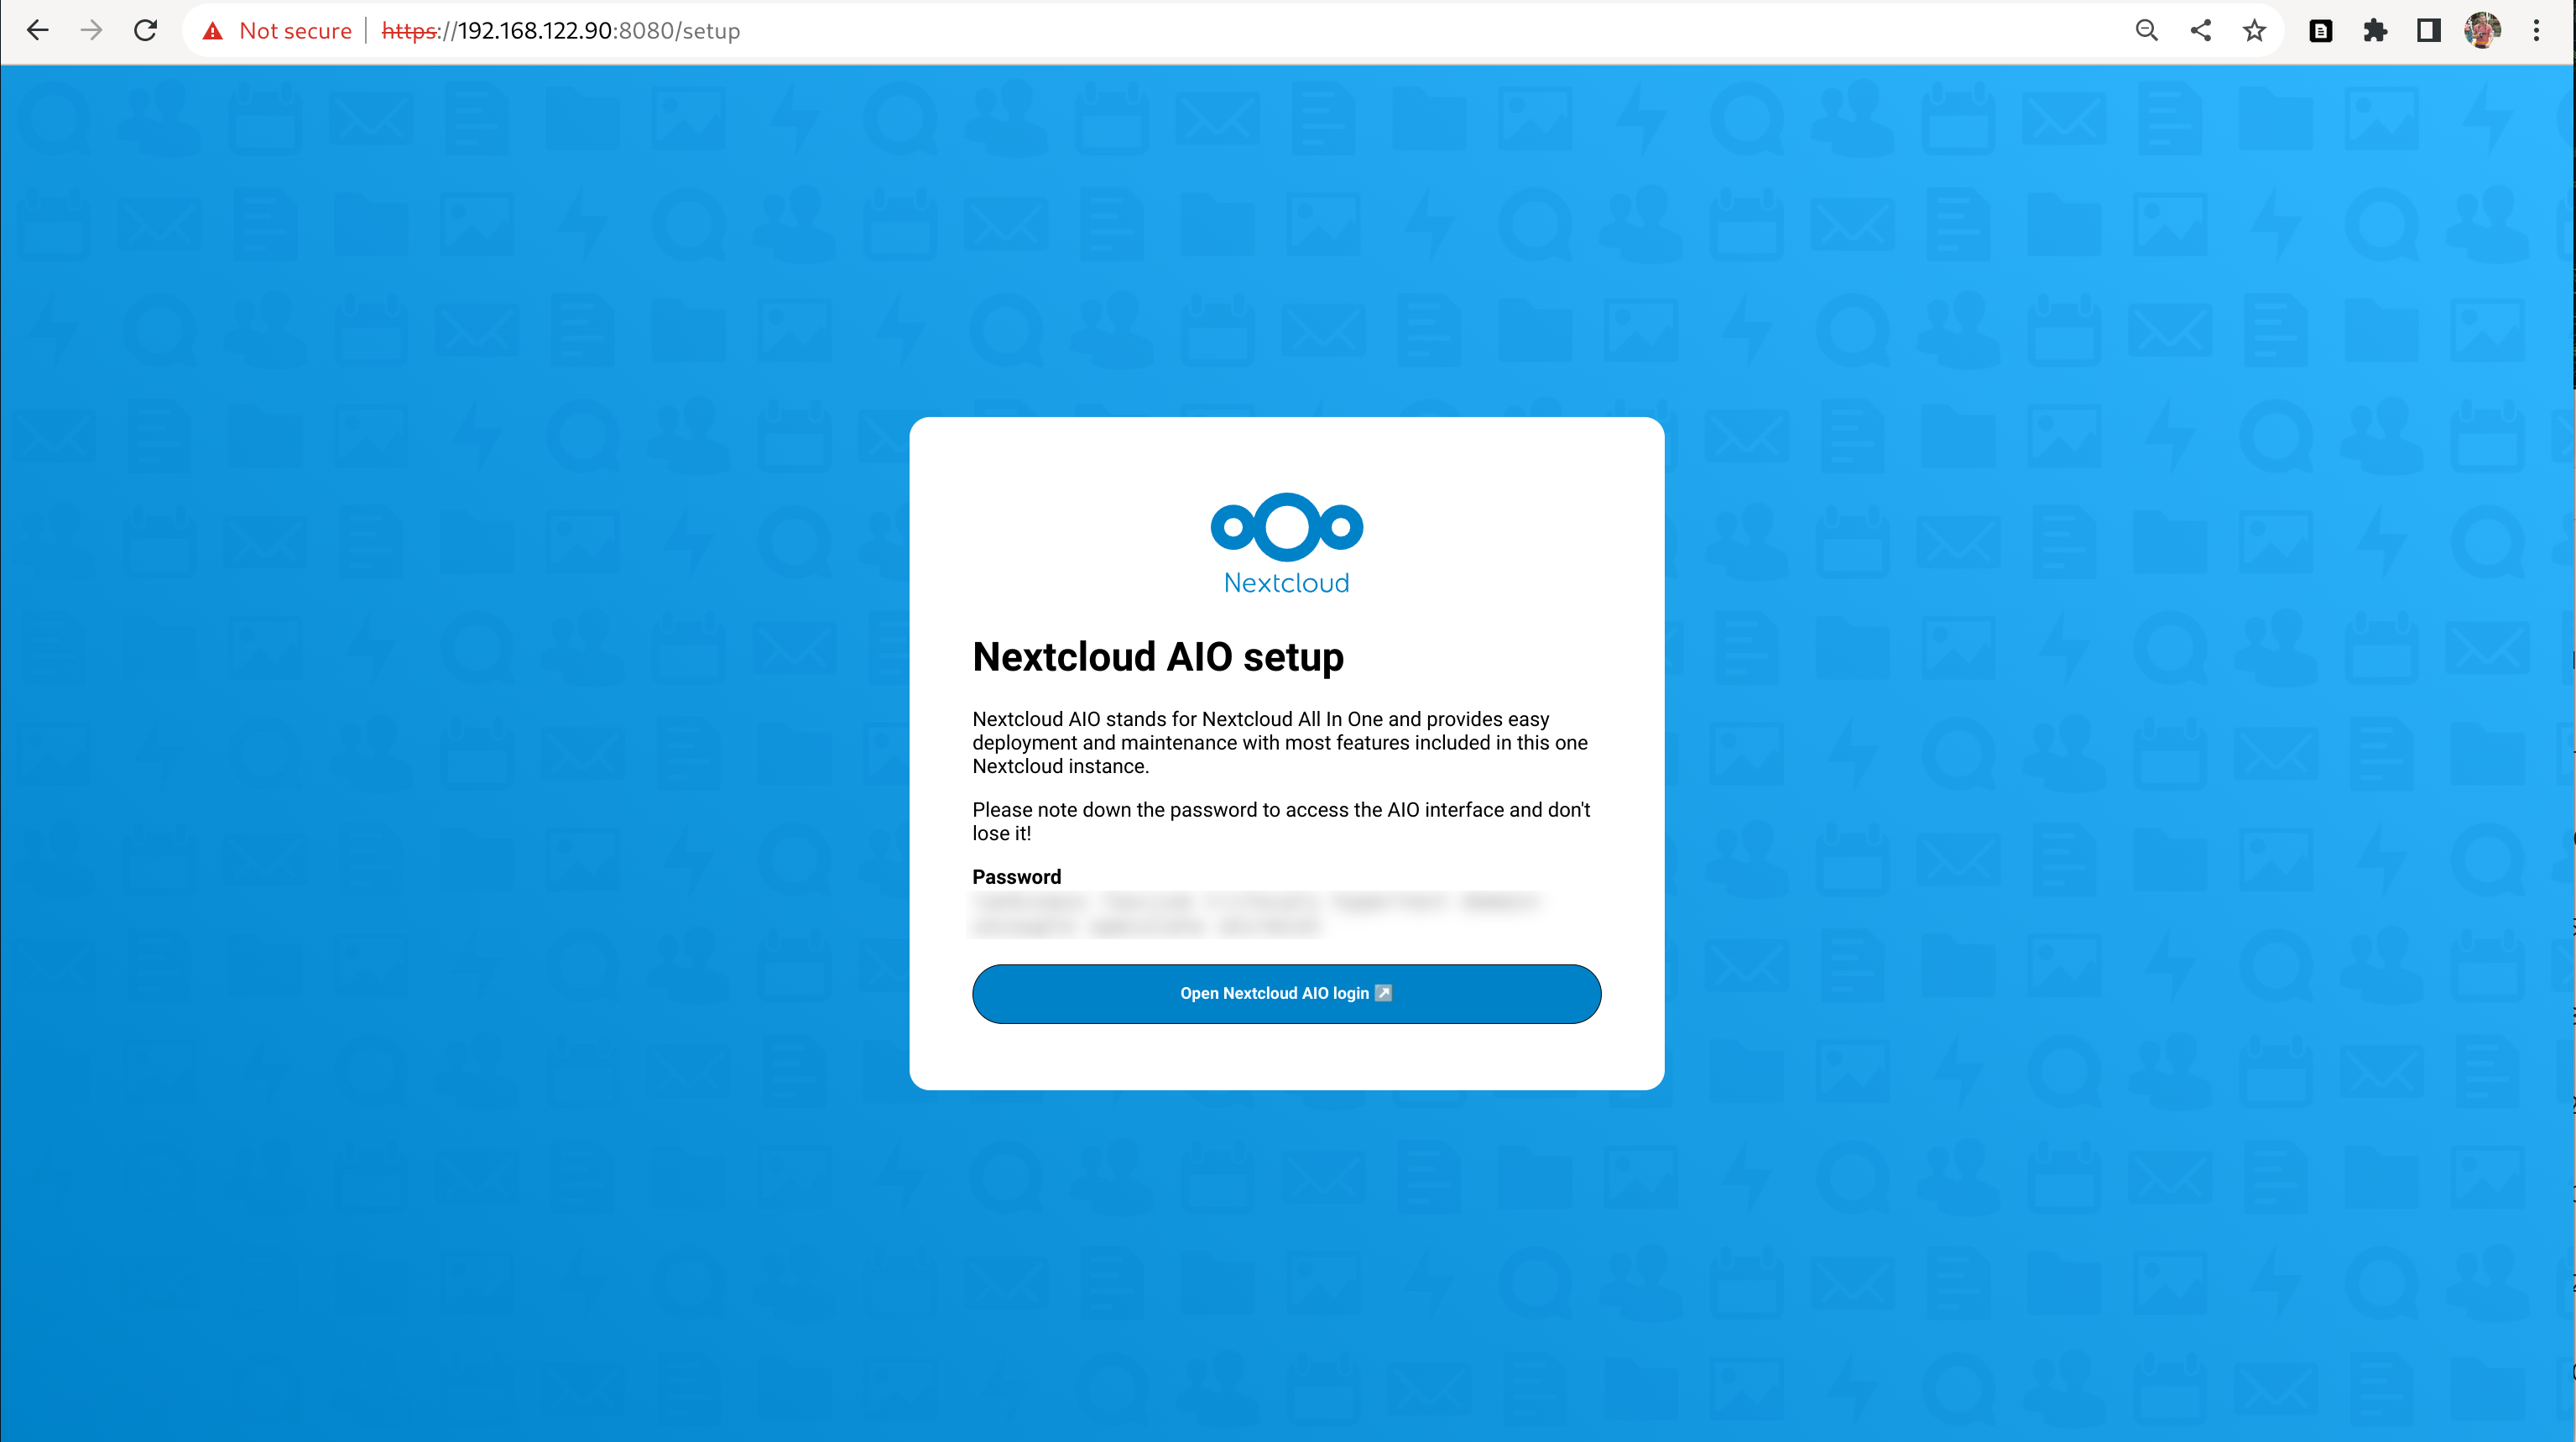
And we’re almost done here. Rest is just about following the browser instructions.
You might want to reconsider what add-ons to run based on the available memory of your device, especially if you have less than 4GB of memory. My Rpi has 8GB, so I went with all available add-ons.
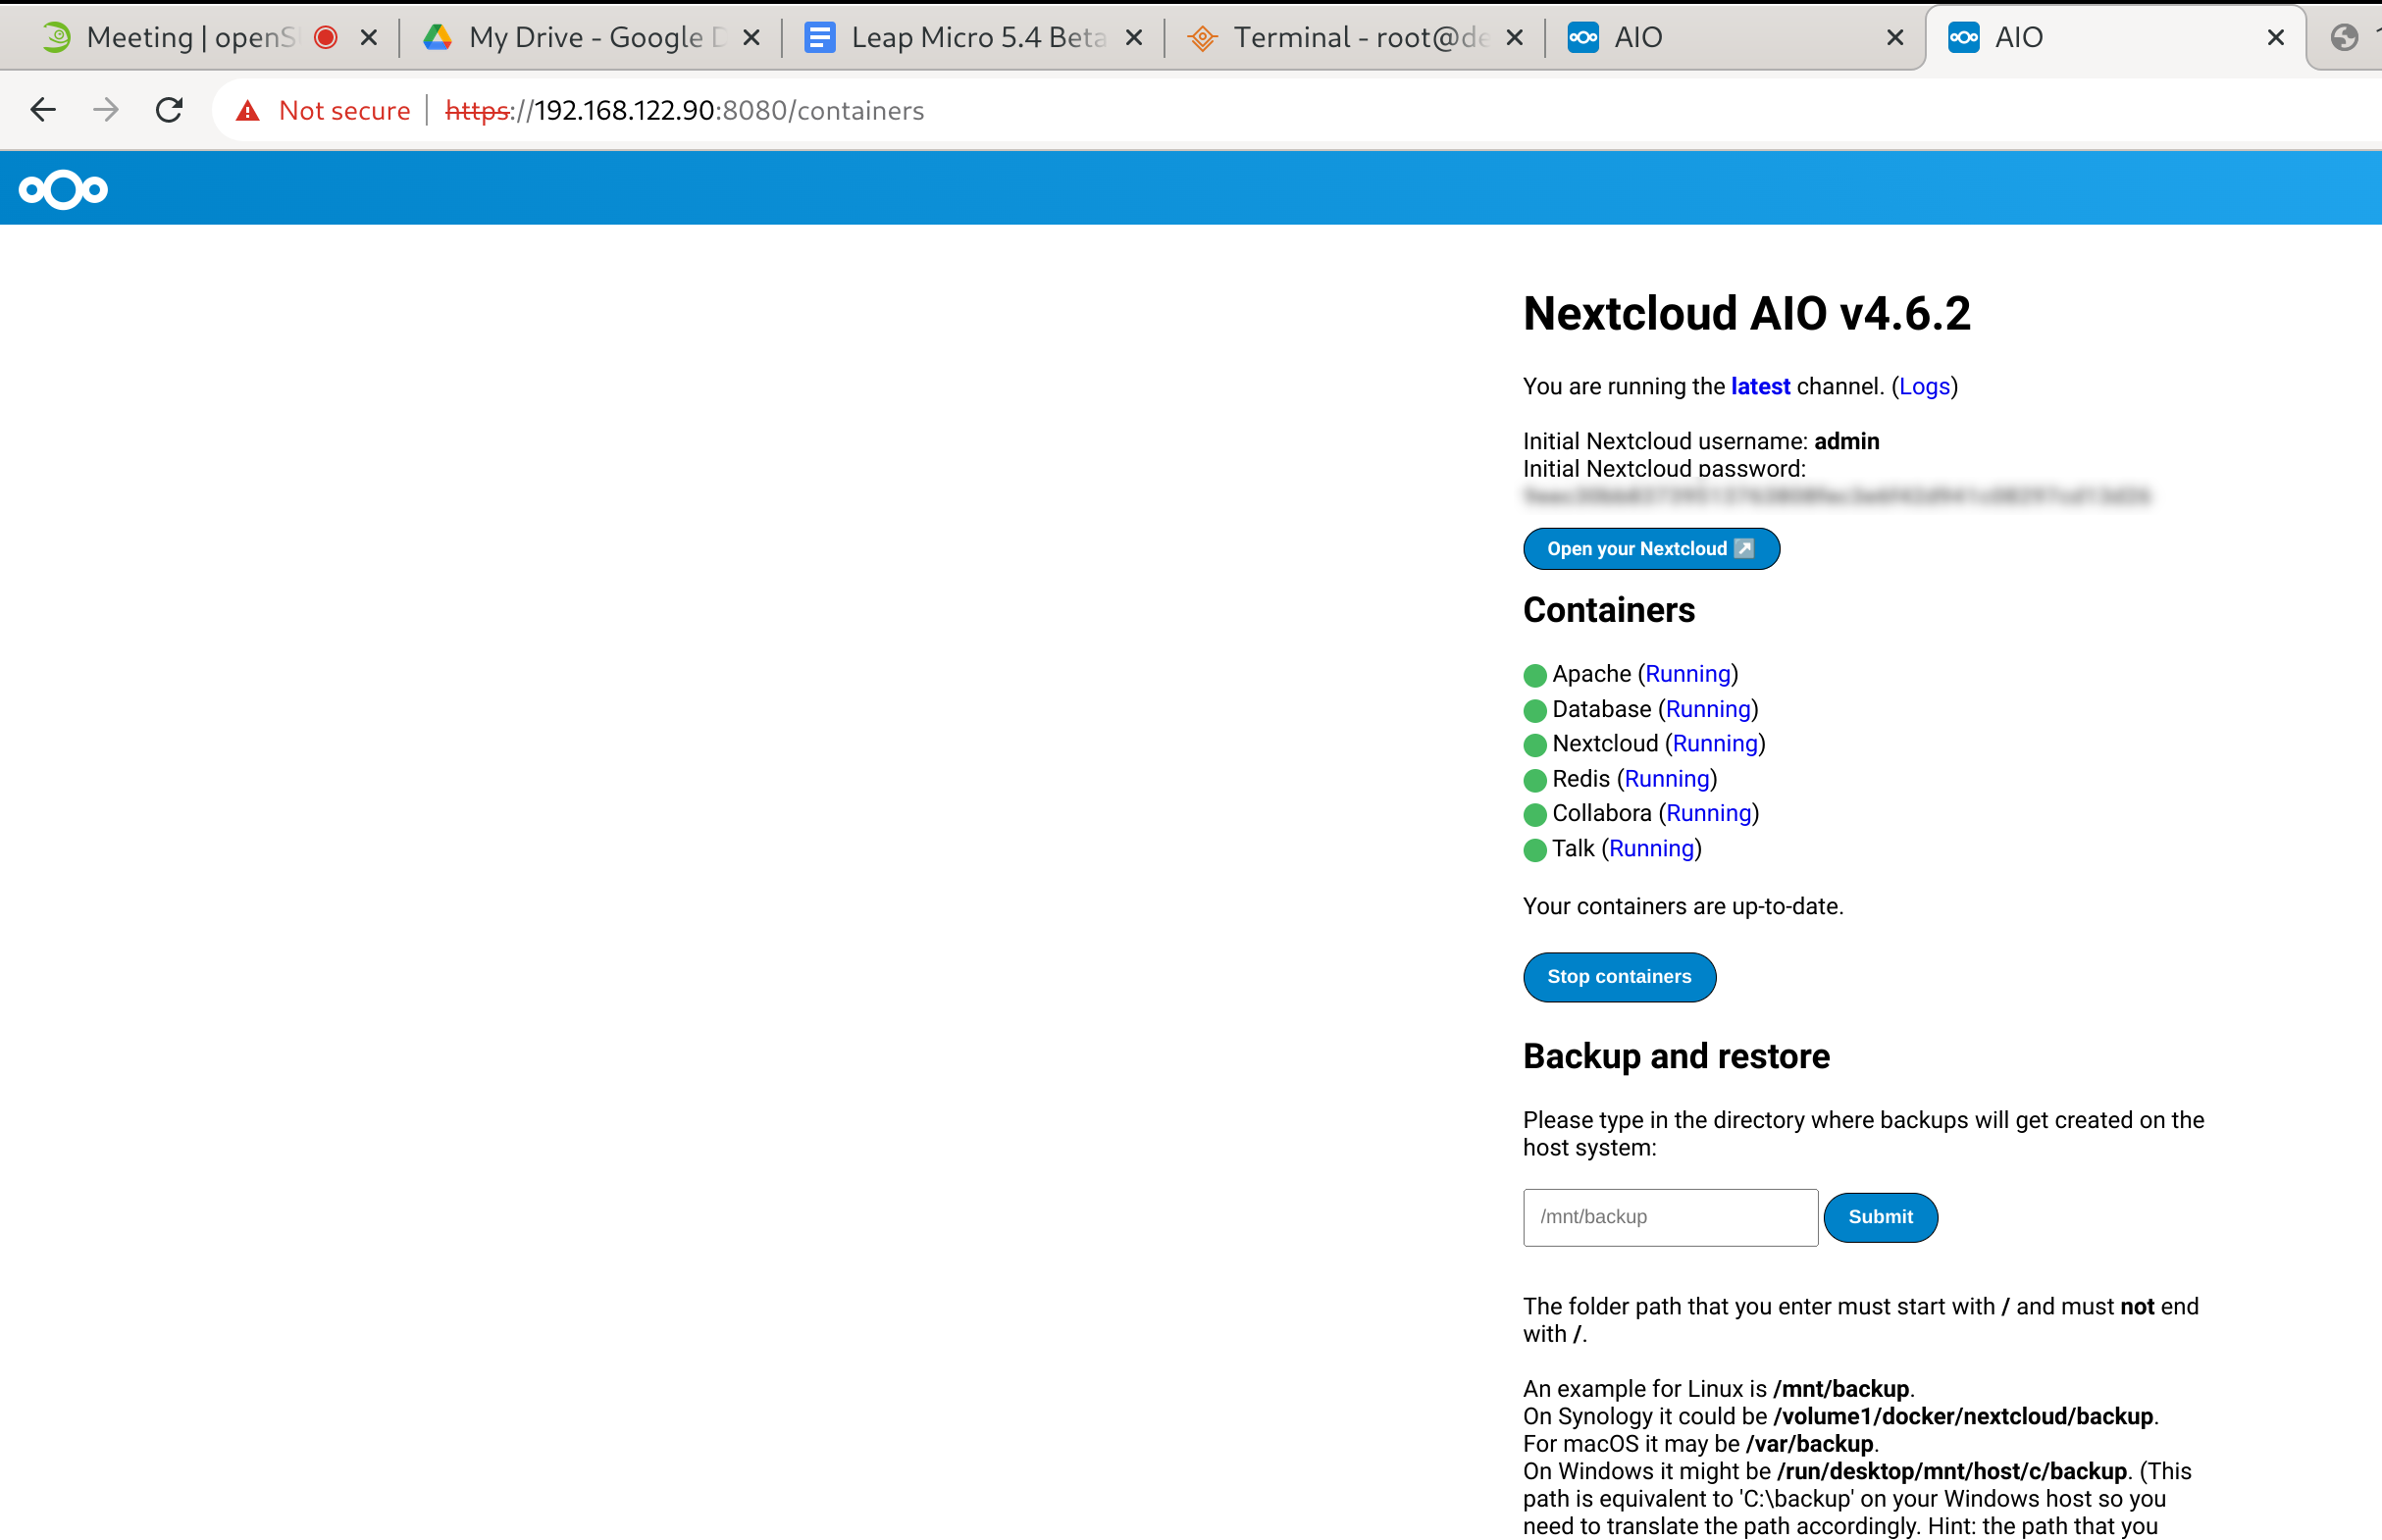
And we are done! Have a lot of fun!