Hands-on, Ad-free browsing at your home with Leap Micro 5.4 Beta
28. Mar 2023 | Lubos Kocman | CC-BY-SA-3.0
The Beta version of our Immutable HostOS Leap Micro 5.4 is now available. The update brings SELinux in enforcing mode by default as well as tuned. Leap Micro is not a traditional distribution, but rather a lightweight HostOS for running virtual machines and containerized workloads.
Leap Micro is an openSUSE equivalent of SUSE’s SLE Micro.
In this article, I would like to show you how it can be practically used to enhance your daily ad-free experience at home. I was able to replicate the entire setup in the VM, including downloading the image, in under 15 minutes.
My personal use case for Leap Micro is to have as much ad-free browsing as possible, DNS entries for local services, and a Nextcloud instance as a bridge to share pictures and videos in between my wife’s iPhone, kids tablet and my Android phone.
My private home setup is a Raspberry Pi 4 8GB with 1TB SDD connected via USB 3.0 to SATA III. I have a mesh via TP Link Deco X20. I do use port mapping from the Deco to expose services to the public via a static public IP.
The RPI has a reserved address based on its MAC address to keep stuff simple. If you have a dynamic public address, you can consider some dynamic DNS (DDNS) solutions.
I am personally happily using the described setup on my 8GB Raspberry Pi 4 with Leap Micro 5.3 along with Pi-hole for ad-free browsing and mapping of my NextCloud instance to a local address.
If you want to just test it out, virtual machines will work as well; just make sure that the VM’s virtual network interface is in bridge mode or uses forwarding of incoming connections. This can be easily set up with NetworkManager in just two clicks. Otherwise, you won’t be able to access web management of the VM services and the article becomes pointless.
The benefit I see in using Leap Micro is that the machine does not require any of my attention. I have automatic updates and self-healing on. The machine automatically reboots into an updated snapshot in the defined maintenance window (set by default) and if there is an issue that requires my attention, then I simply resolve the issue with the Cockpit interface in the web browser.
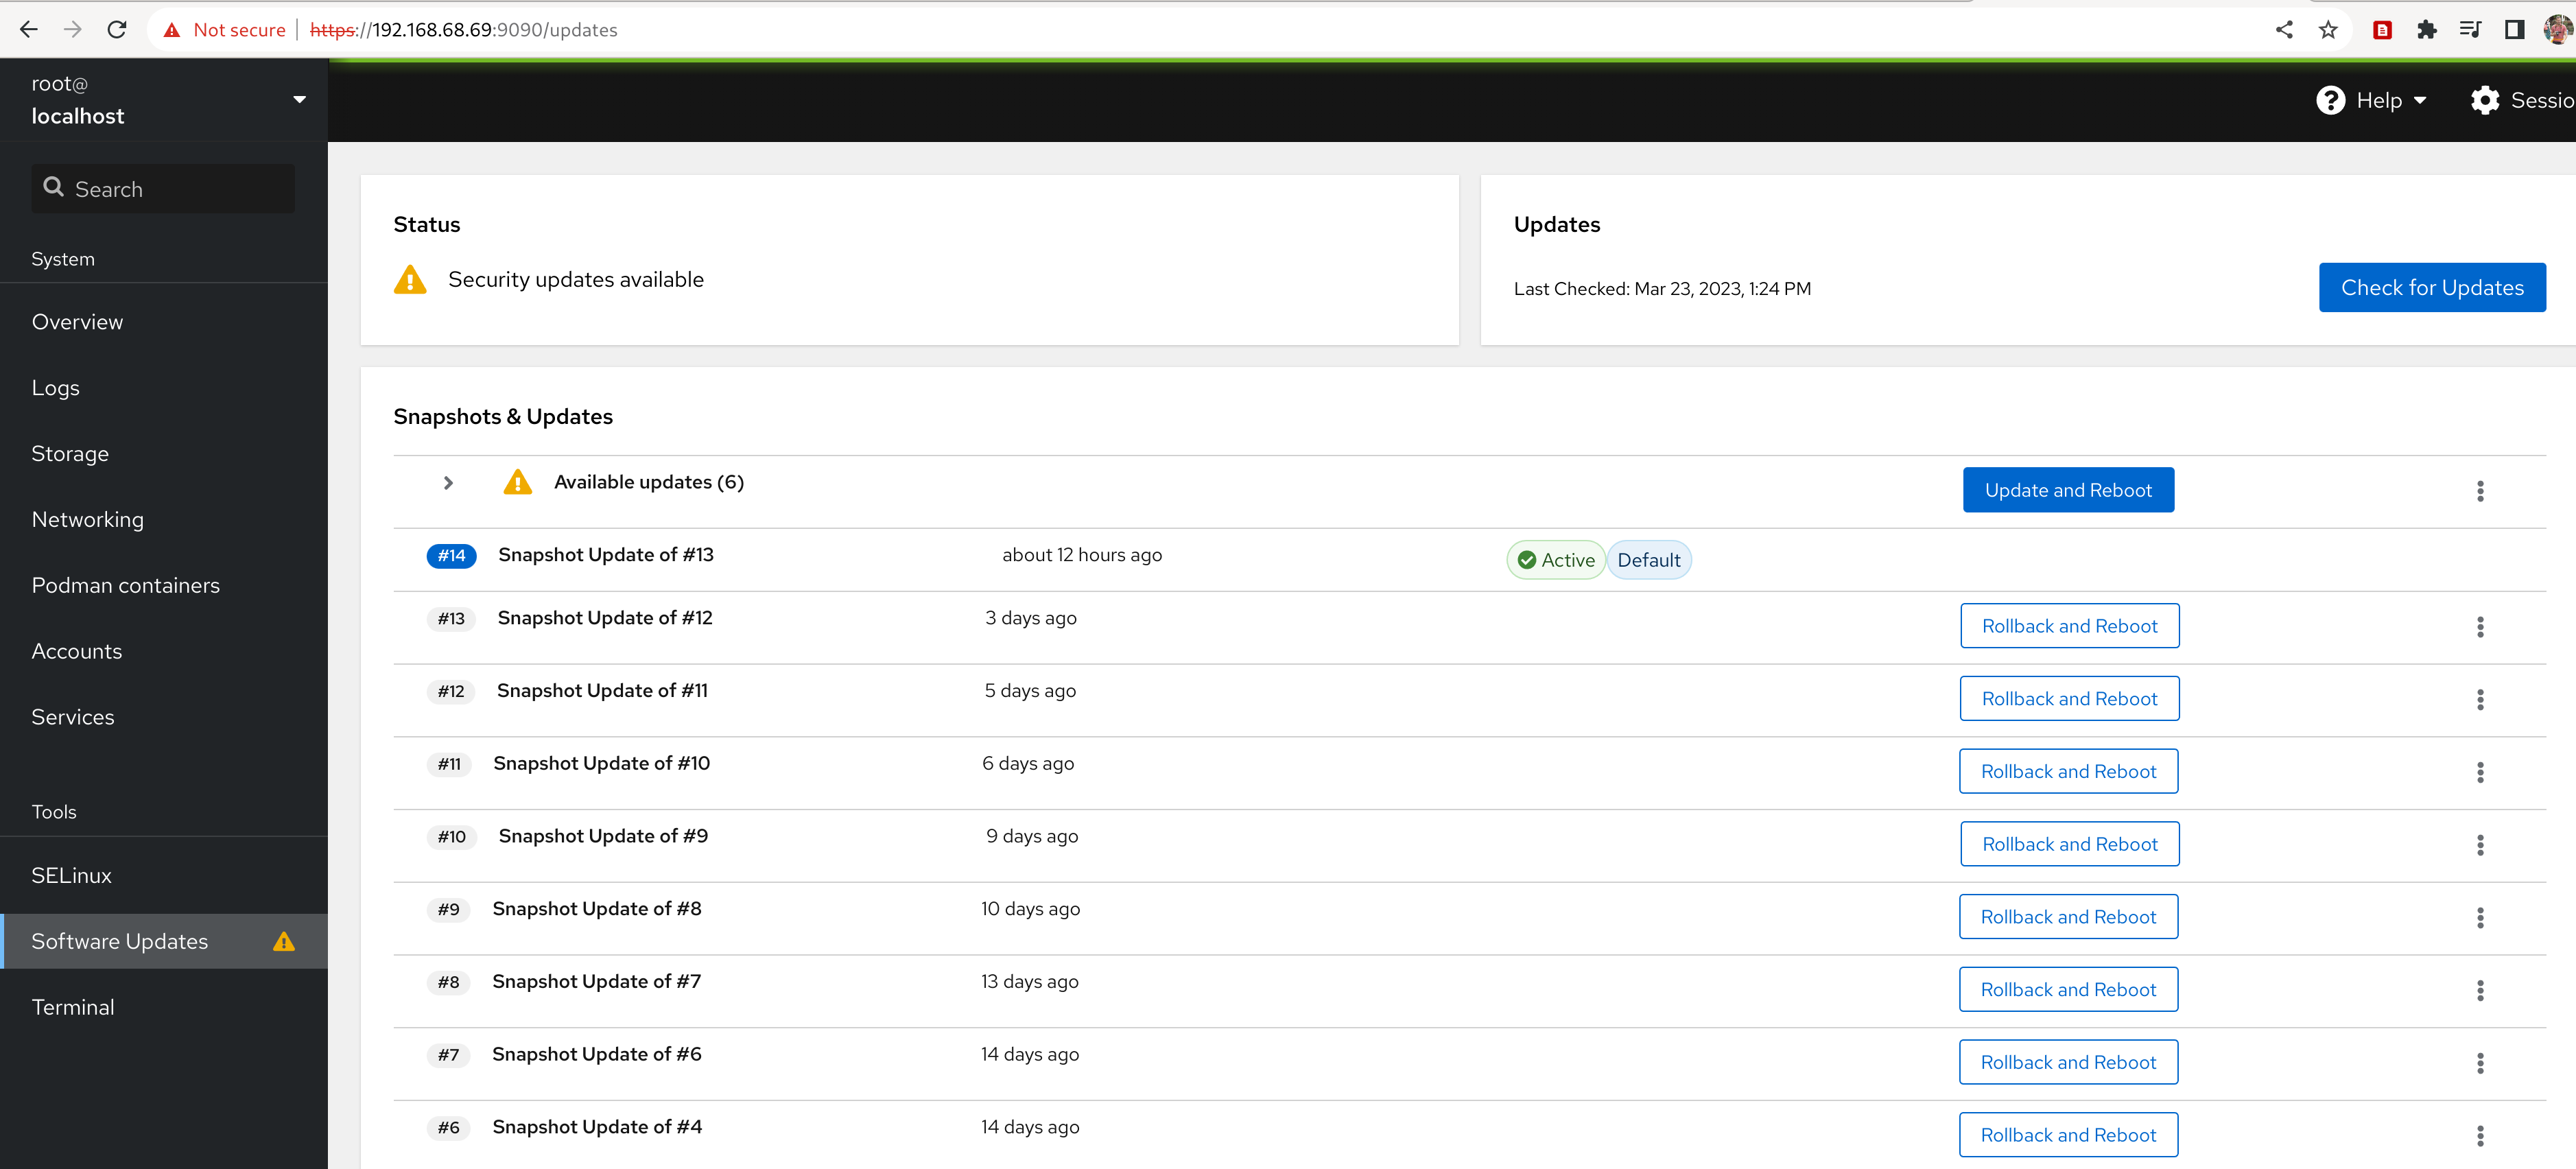
Leap Micro is an immutable operating system with read-only root. openSUSE solves this via btrfs snapshots and tools that enable automatic rollback and boot into a previous snapshot in case a system identifies that the boot into a new snapshot has failed.
Getting the Leap Micro 5.4 Beta
What is a self-install image?
The self-install image is essentially a bootable image that writes the pre-configured image of Leap Micro to the disk and enlarges system partitions to the disk size. In this way, installation takes less than two minutes in my VM (VM storage is a file, and I have PCI-e 4 gen M.2 SSD).
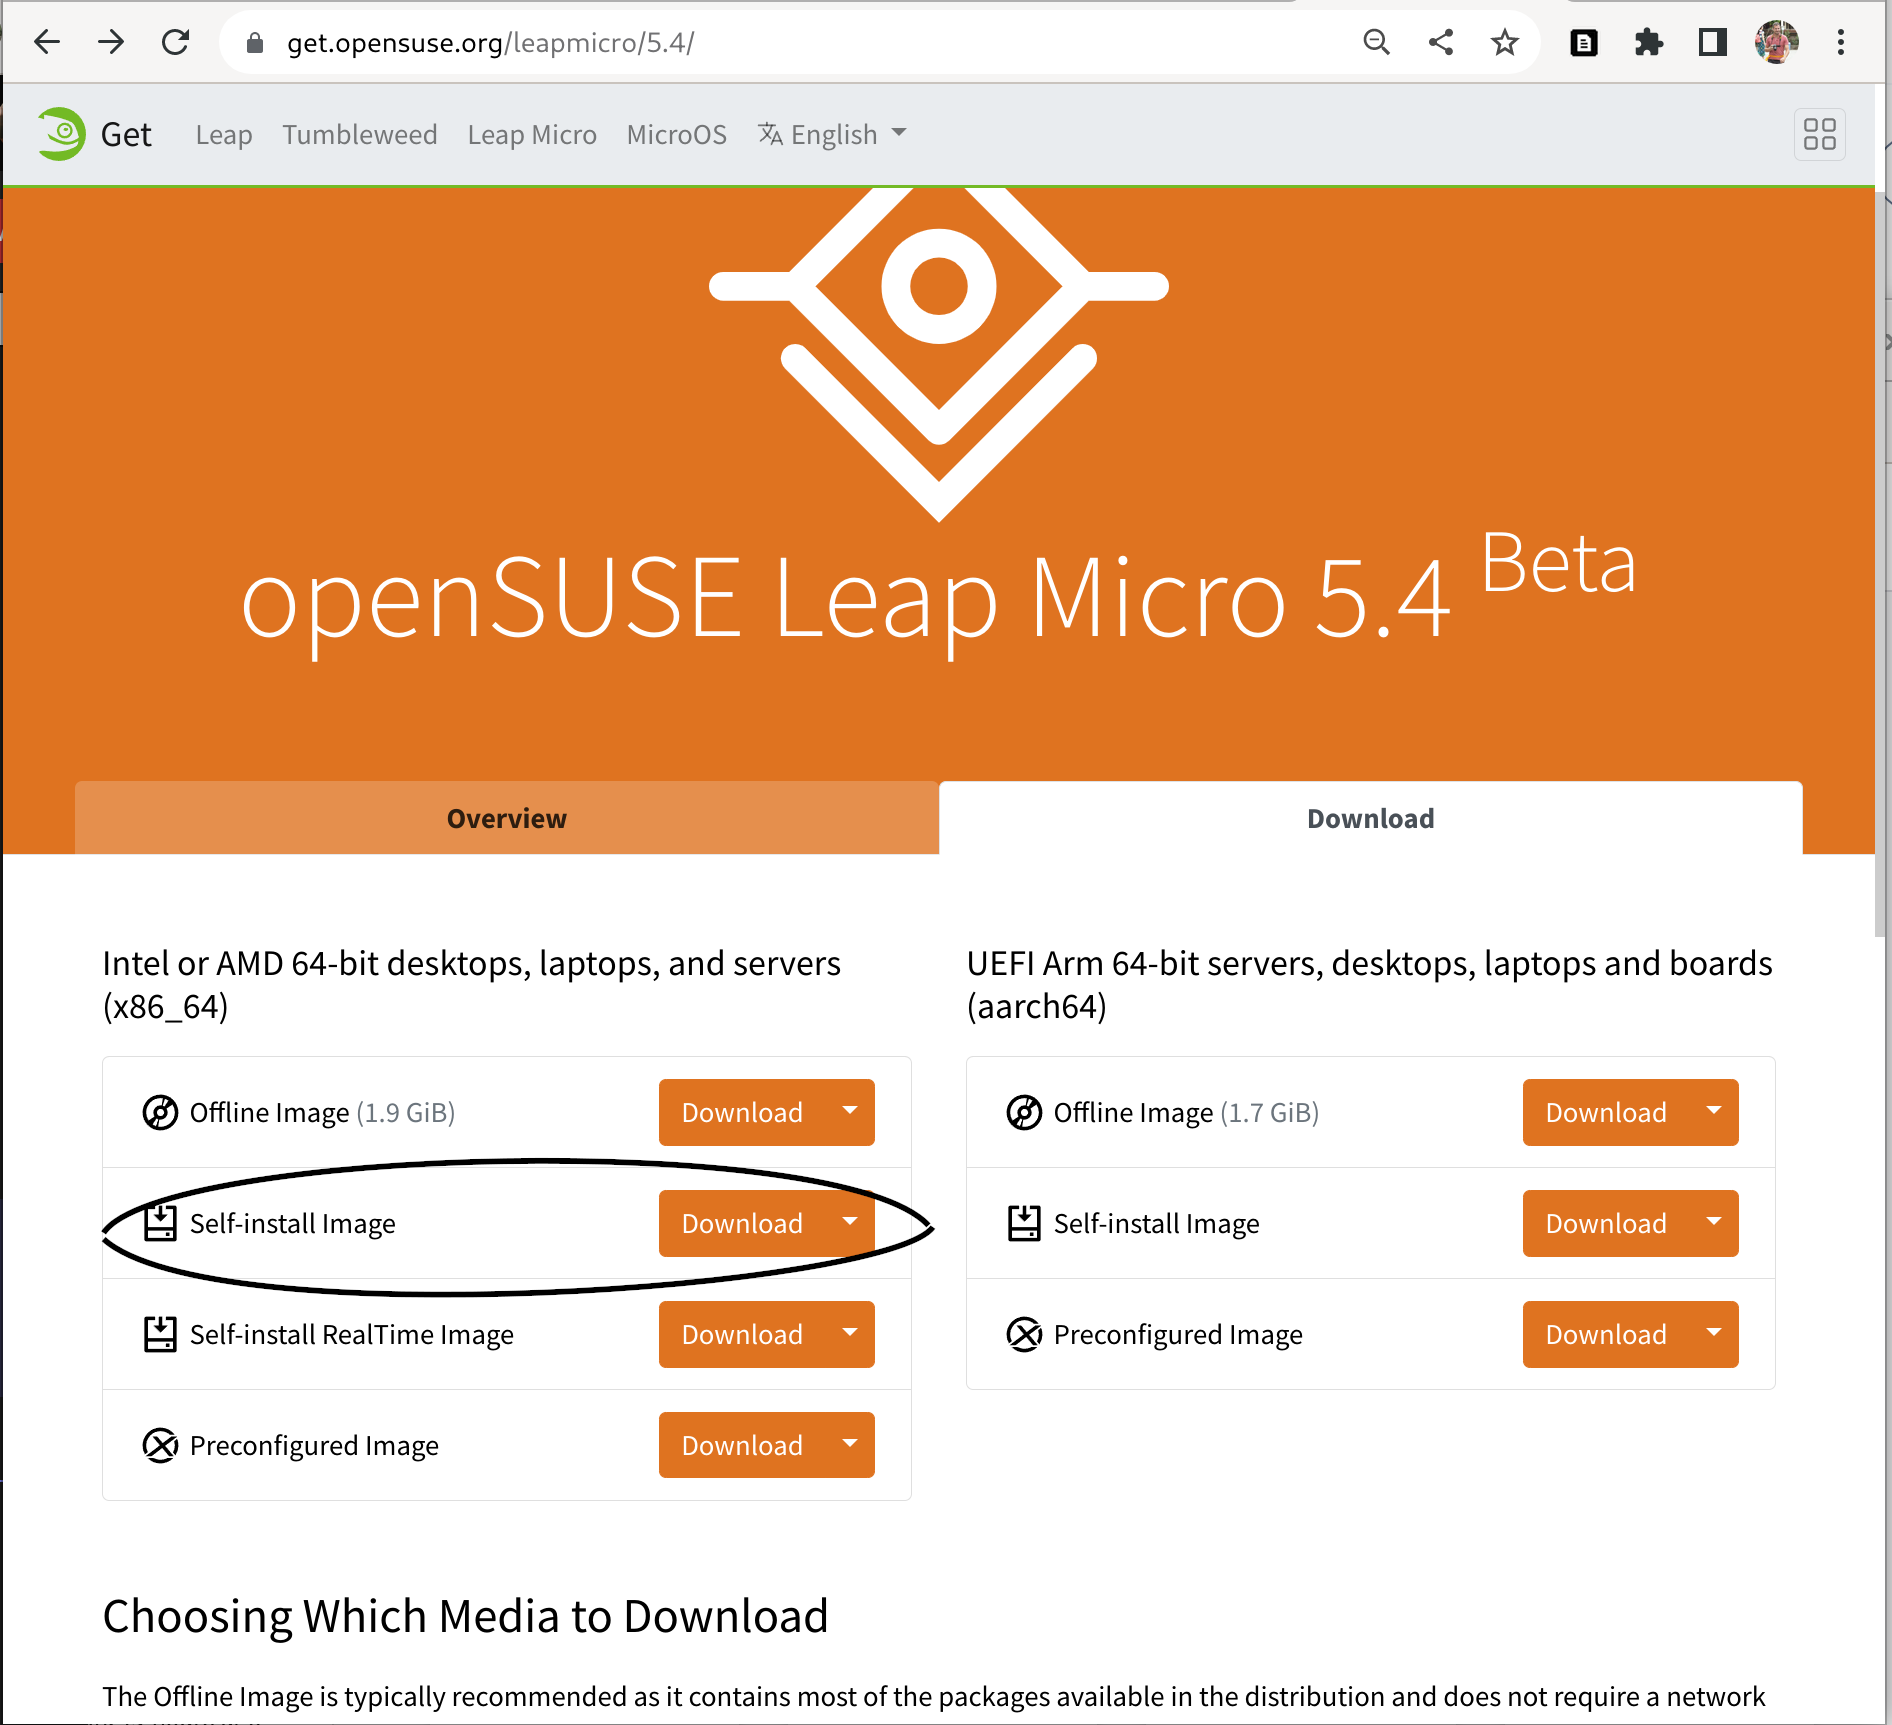
Download the self-install image from https://get.opensuse.org/leapmicro/5.4/ make sure to choose correctly the architecture x86-64, or AArch64 for arm devices. We’ll use a self-install x86-64 image as this article uses a VM for the demonstration.
If you are using a physical device then please use zypper to install image writer. Users on other distributions can install e.g. Fedora Media Writer from Flathub. Use the tool of your choice to write the downloaded image to the USB flash drive.
$ sudo zypper in imagewriter
or
$ flatpak --user install org.fedoraproject.MediaWriter
Follow these instructions if you are reading this article on Windows: https://en.opensuse.org/SDB:Create_a_Live_USB_stick_using_Windows
Note - Users using Raspberry Pi without the USB boot enabled: Please download directly the pre-configured image and write it to the SD Card via the following command. The rest of the steps are the same.
xzcat [image].raw.xz | dd bs=4M of=/dev/sdX iflag=fullblock oflag=direct status=progress; sync
Need to avoid user interaction during the installation?
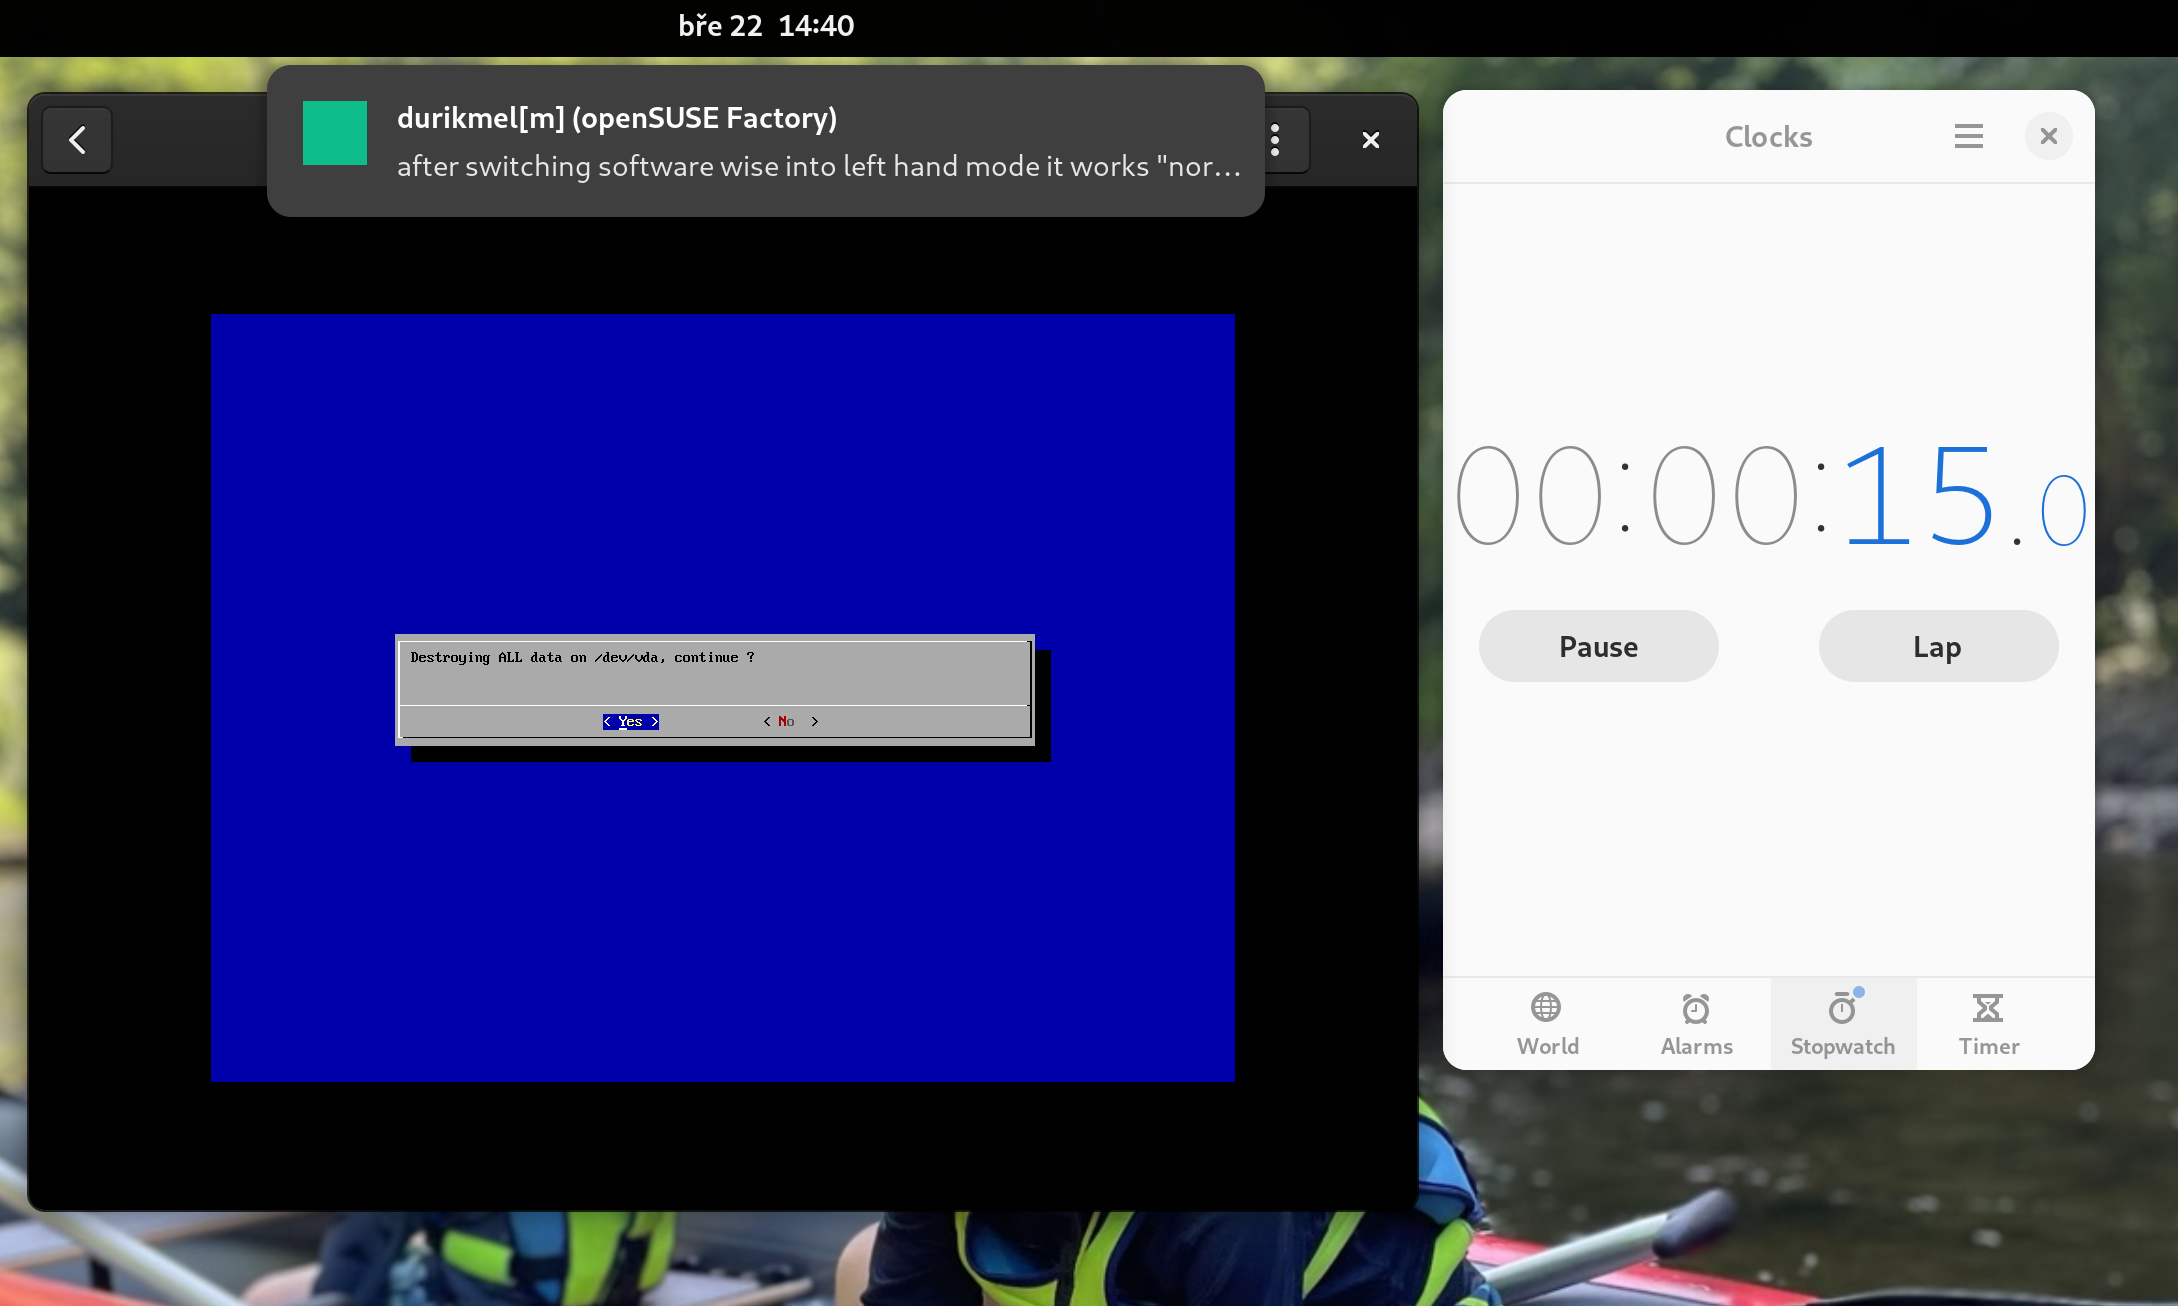
Users who want to avoid user interaction during installation (e.g. due to not having connected peripherals to the machine) can use Ignition or Combustion https://en.opensuse.org/Portal:MicroOS/Combustion to do the initial setup for them. For that use case, please use the preconfigured image that you will write to the disk drive by yourself. Self-install media requires user confirmation on overwriting the disk. Check this video tutorial for more information https://www.youtube.com/watch?v=ft8UVx9elKc
Writing the self-install image to the USB drive
This can be skipped in case you’re using a virtual machine. Make sure to have a tool for writing an image to the drive such as our image writer or e.g. Fedora Media Writer from Flathub if you are on an immutable system and want to avoid a reboot.
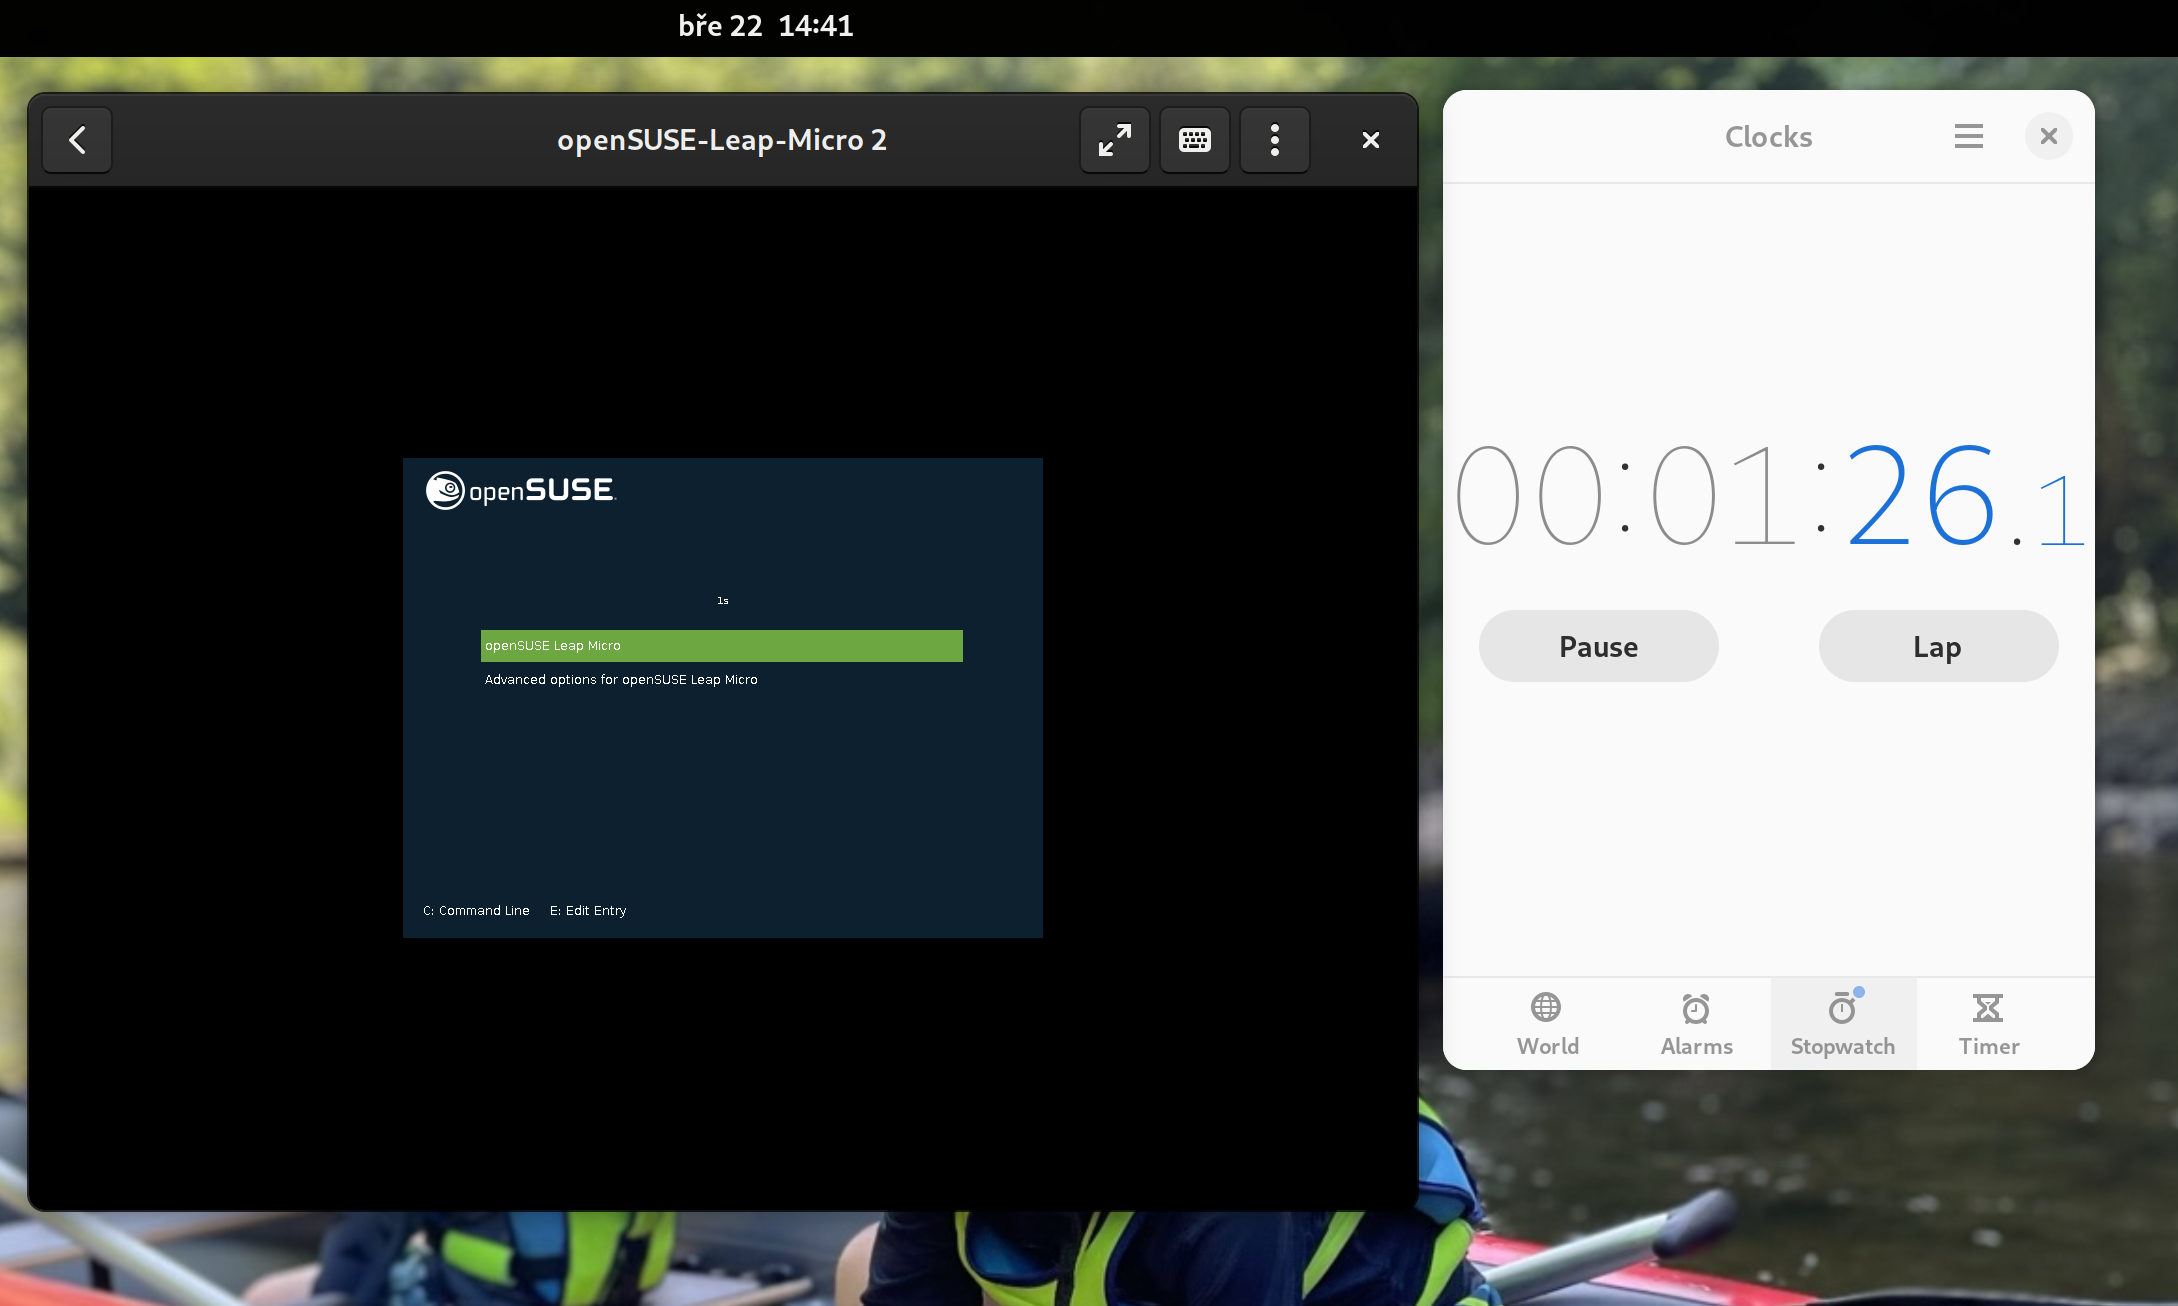
Booting the image
For demonstration purposes, I will be using Leap Micro 5.4 Beta x86-64 self-install image running in GNOME Boxes.

The self-install image is pretty straightforward. As mentioned before, it’s essentially a bootable image that writes a pre-configured image of Leap Micro to the disk and enlarges system partitions to the disk size.
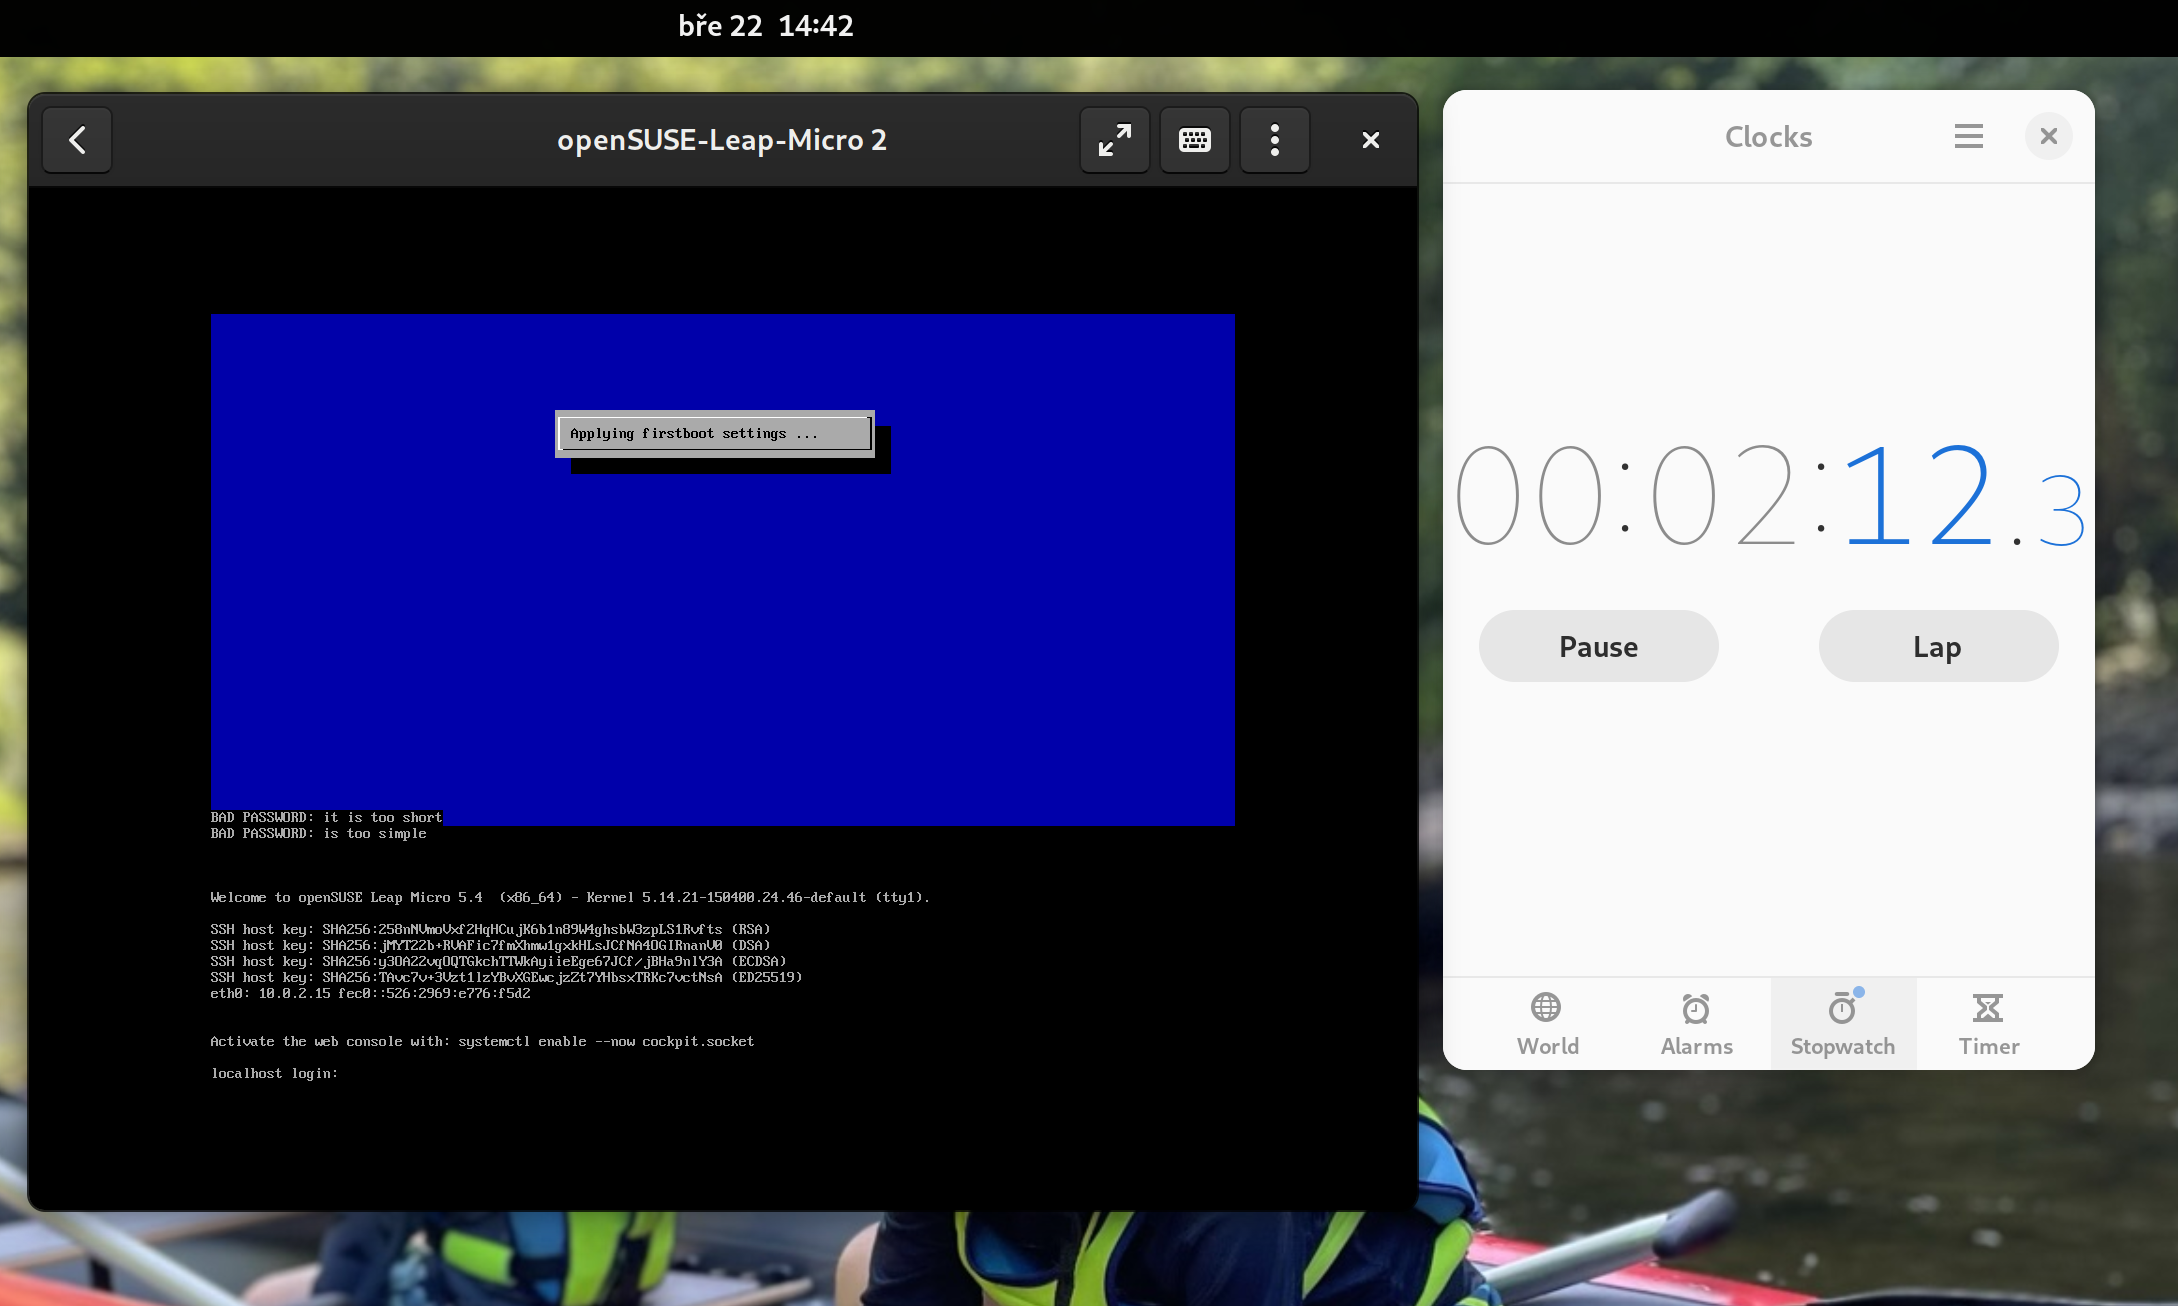
About a minute after we are already booting into the deployed Leap Micro 5.4 Beta.
The boot itself takes a few seconds, and we are entering a simple first boot wizard known from our minimal images (used to be called JeOS).

First boot wizard lets you choose Timezone, Language and a root password, and your Leap Micro 5.4 is ready to be used (can be automated with Ignition/Combustion). We are ready to serve after two minutes including the initial configuration.
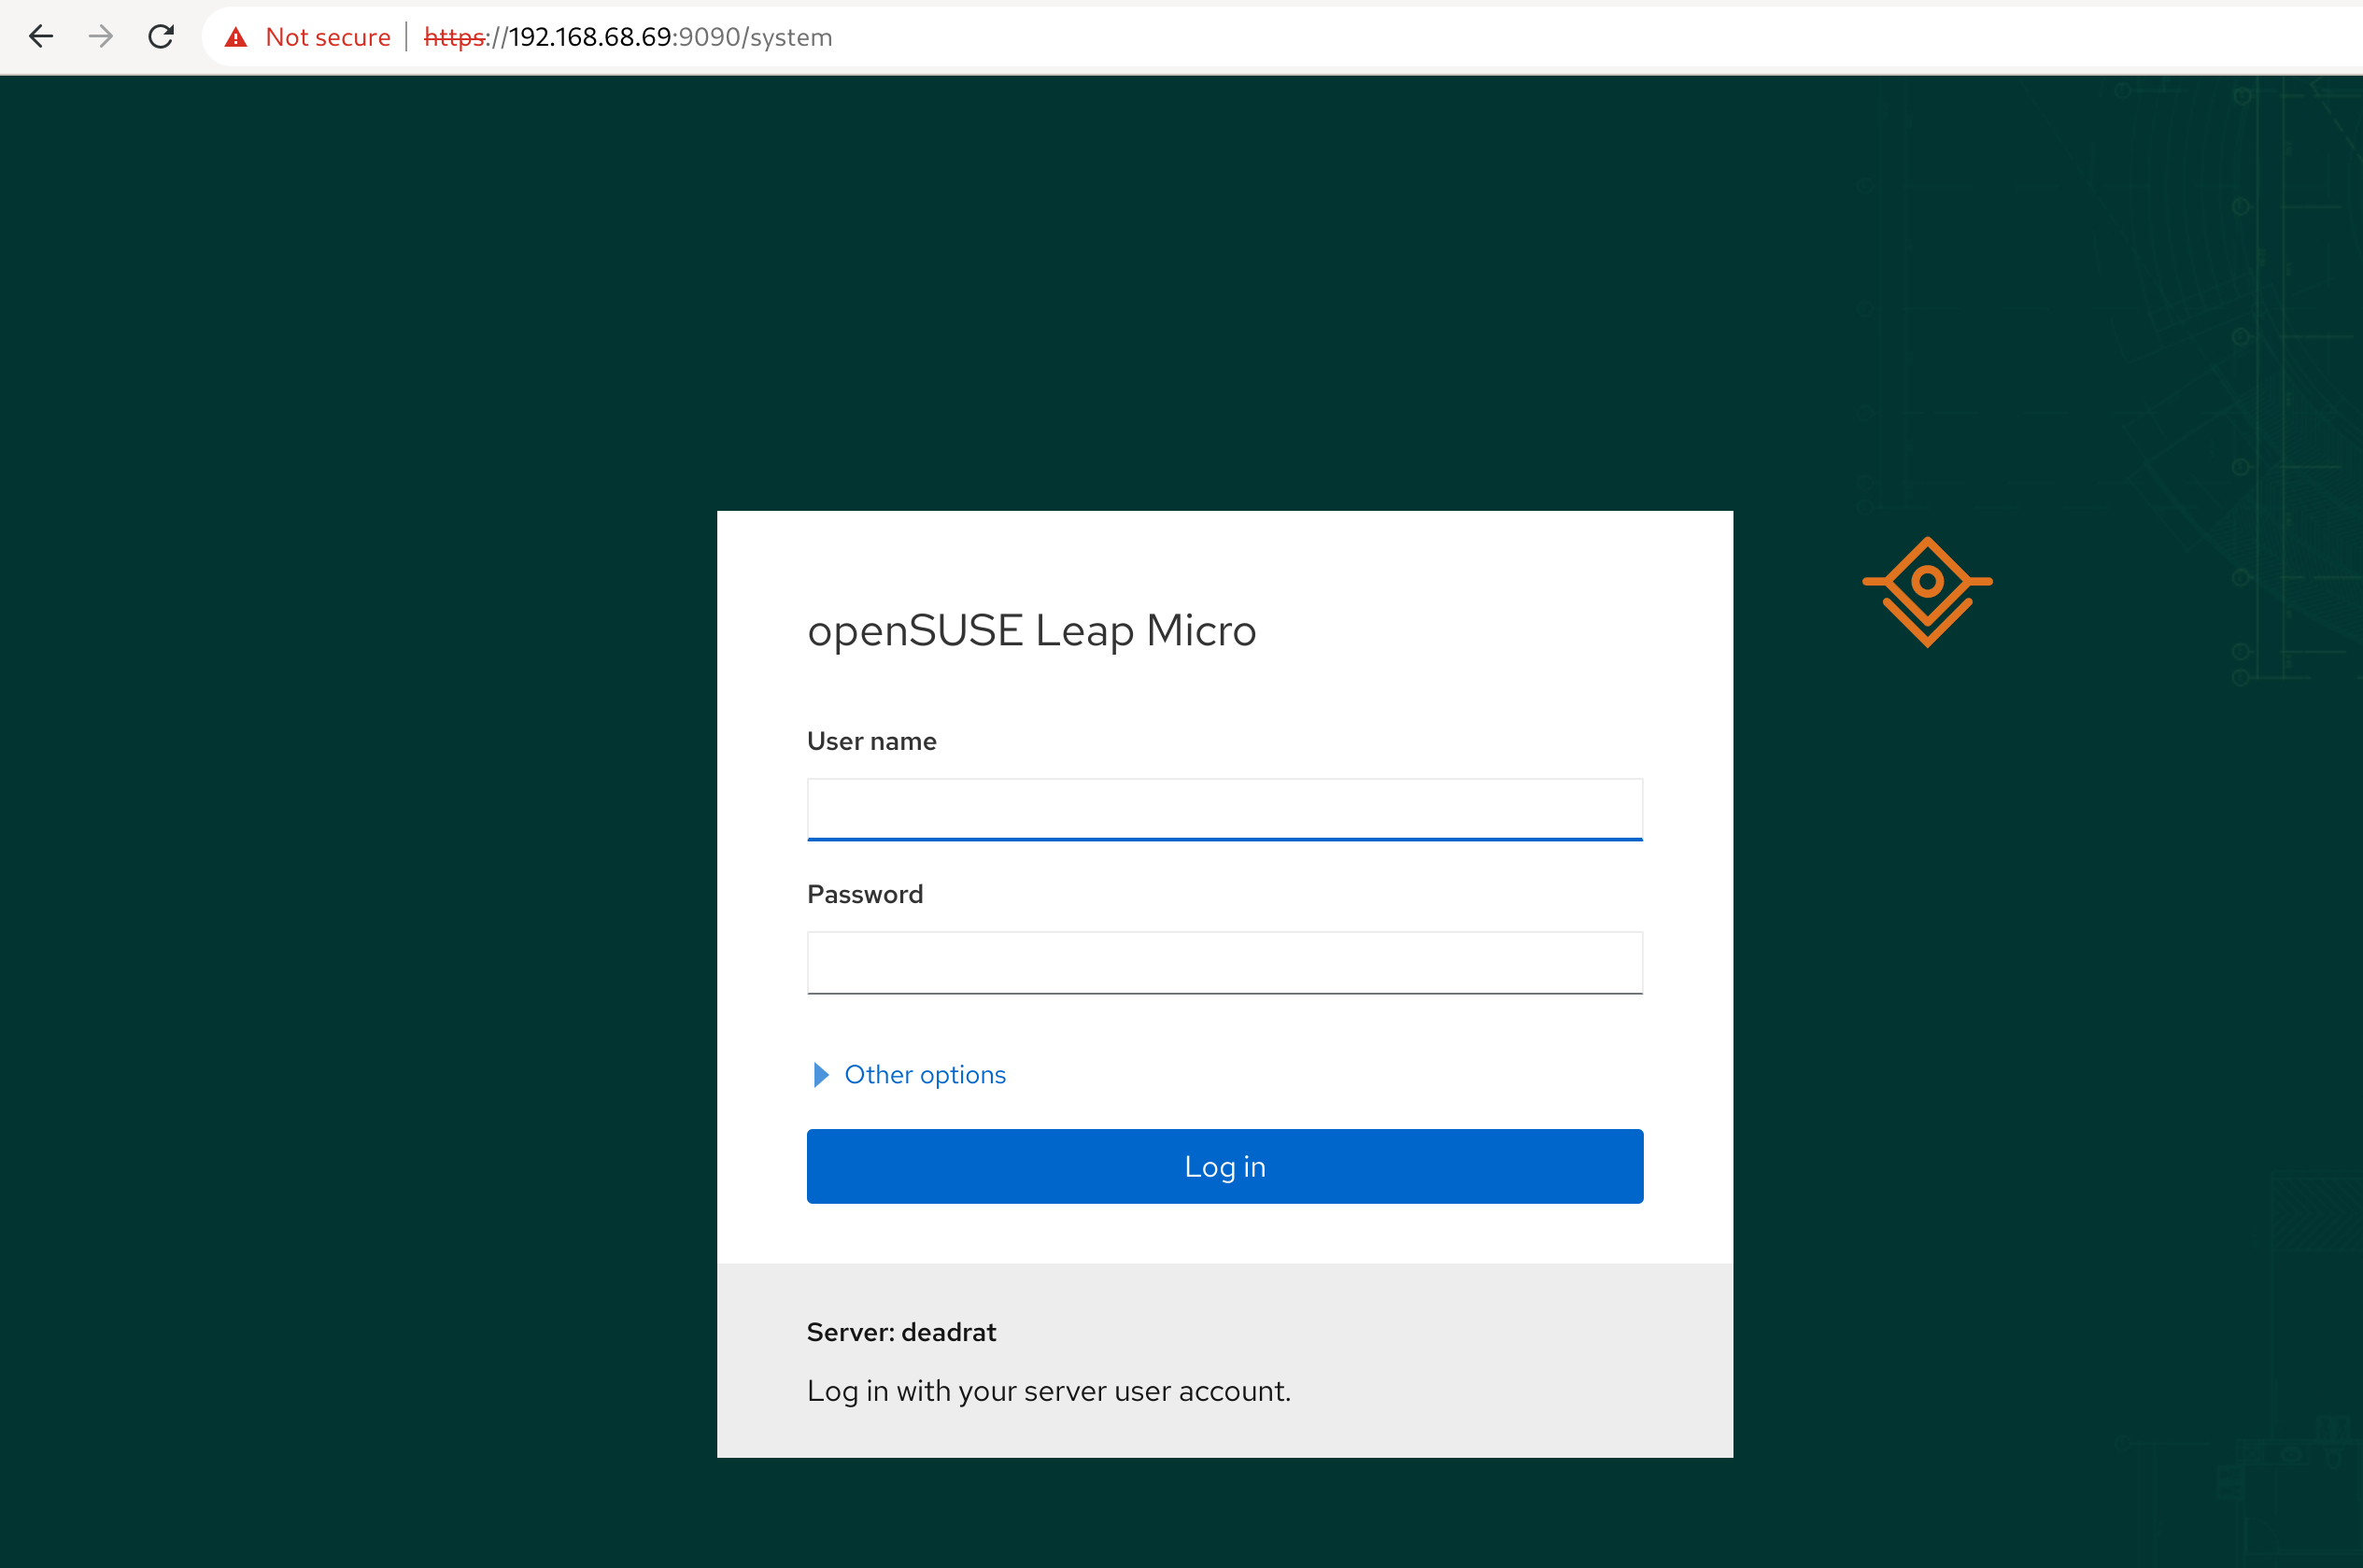
Getting into the cockpit
Message of the day (MOTD) suggests you enable the cockpit web. It will be accessible through the ip.address.of.this.server:9090. Login to the cockpit as root.
Note: For home purposes, I highly recommend not exposing this port to the public and keeping it for management only from your local network or at least that is how my setup looks like. You can completely skip SSH since the cockpit allows you to access the terminal via a web browser.
$ systemctl enable --now cockpit.socket
Podman vs Docker
In this tutorial, we will run Pi-hole as a containerized workload. Leap Micro uses a podman by default. Cockpit has a nice podman plugin so you can pull && run containers directly from cockpit.
Unless the suggested deployment is very Docker centric, you should be able to just substitute docker with podman respective podman-docker and be good.
Pi-hole advertises Docker in its example; we can use this as an opportunity to show you how to install additional software on a transactional-update system.
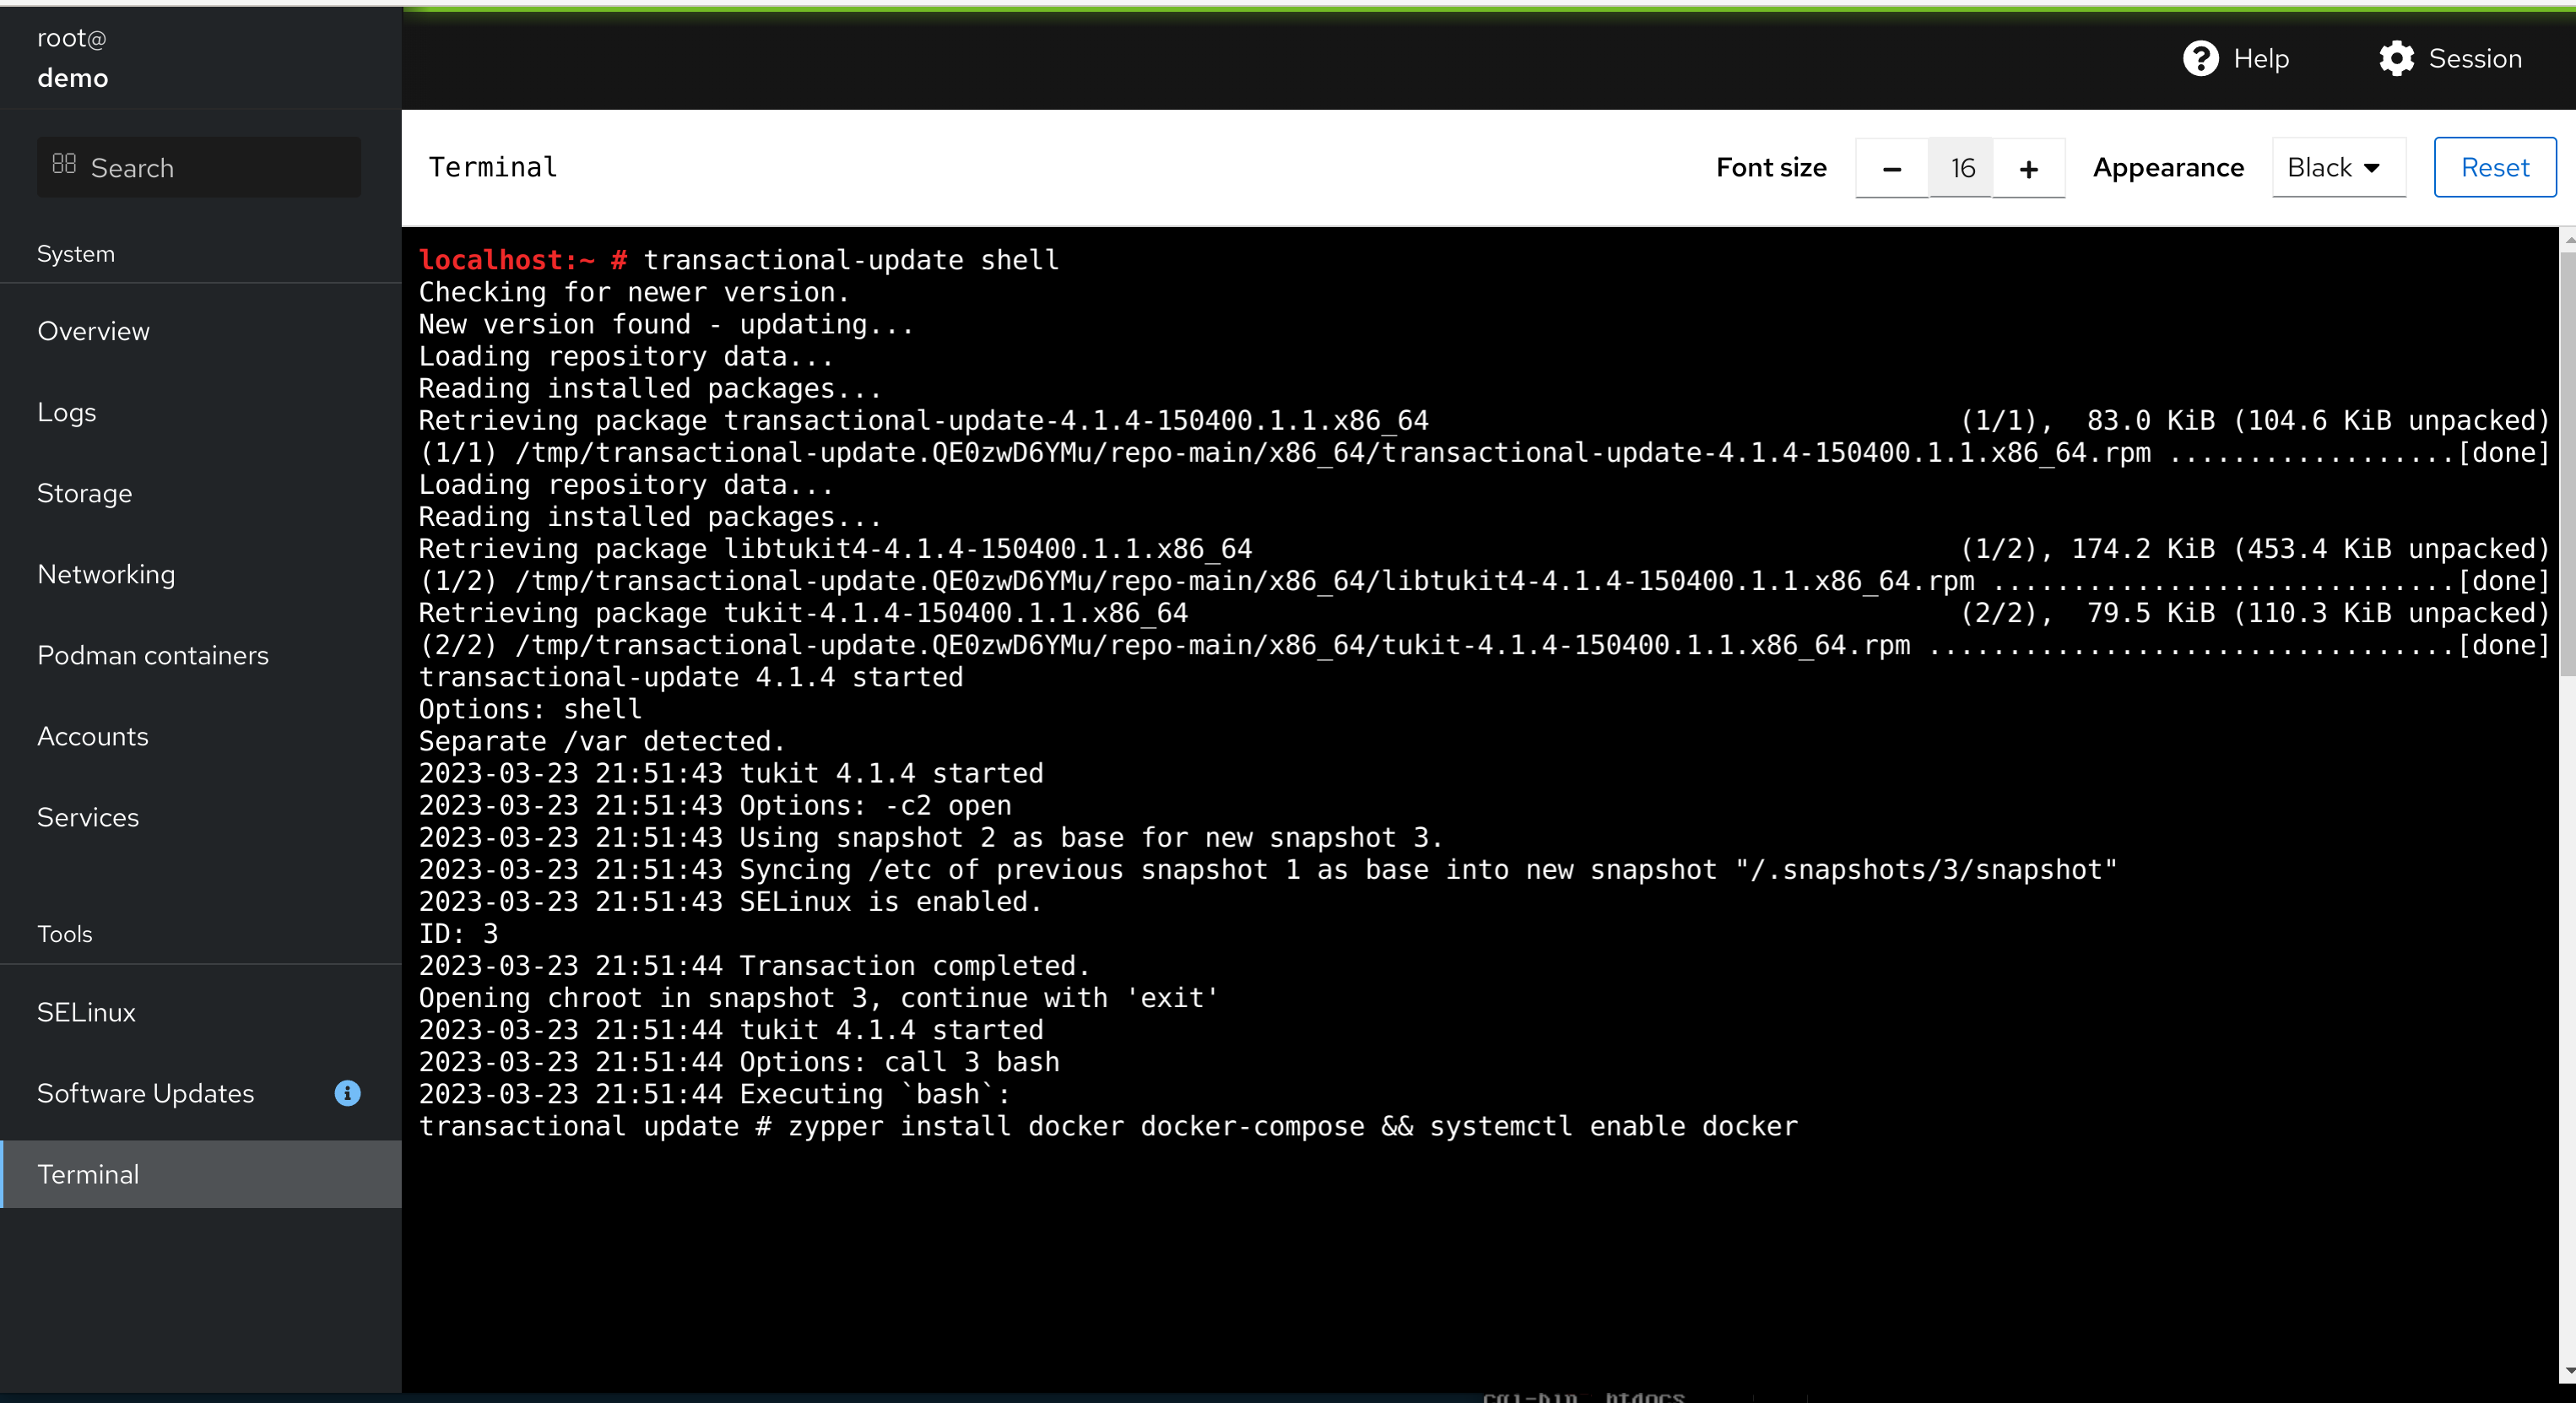
You can use transactional-update pkg install docker or preferably use the transactional-update shell, which gets you a shell in a chroot of the newly created snapshot. There you can continue working just like it would be a traditional system.
# sudo transactional-update shell
# zypper install docker
# systemctl enable docker
# exit
# reboot
Do not forget to exit the transactional-update shell (type exit) and reboot afterward. All of the changes were done into a btrfs snapshot of the current environment, so we have to reboot it to see the changes. Fortunately, the reboot of vanilla Leap Micro takes less than 10 seconds
Note: A recommended way to install additional tools without a reboot is to use Distrobox
Deploying Pi-hole
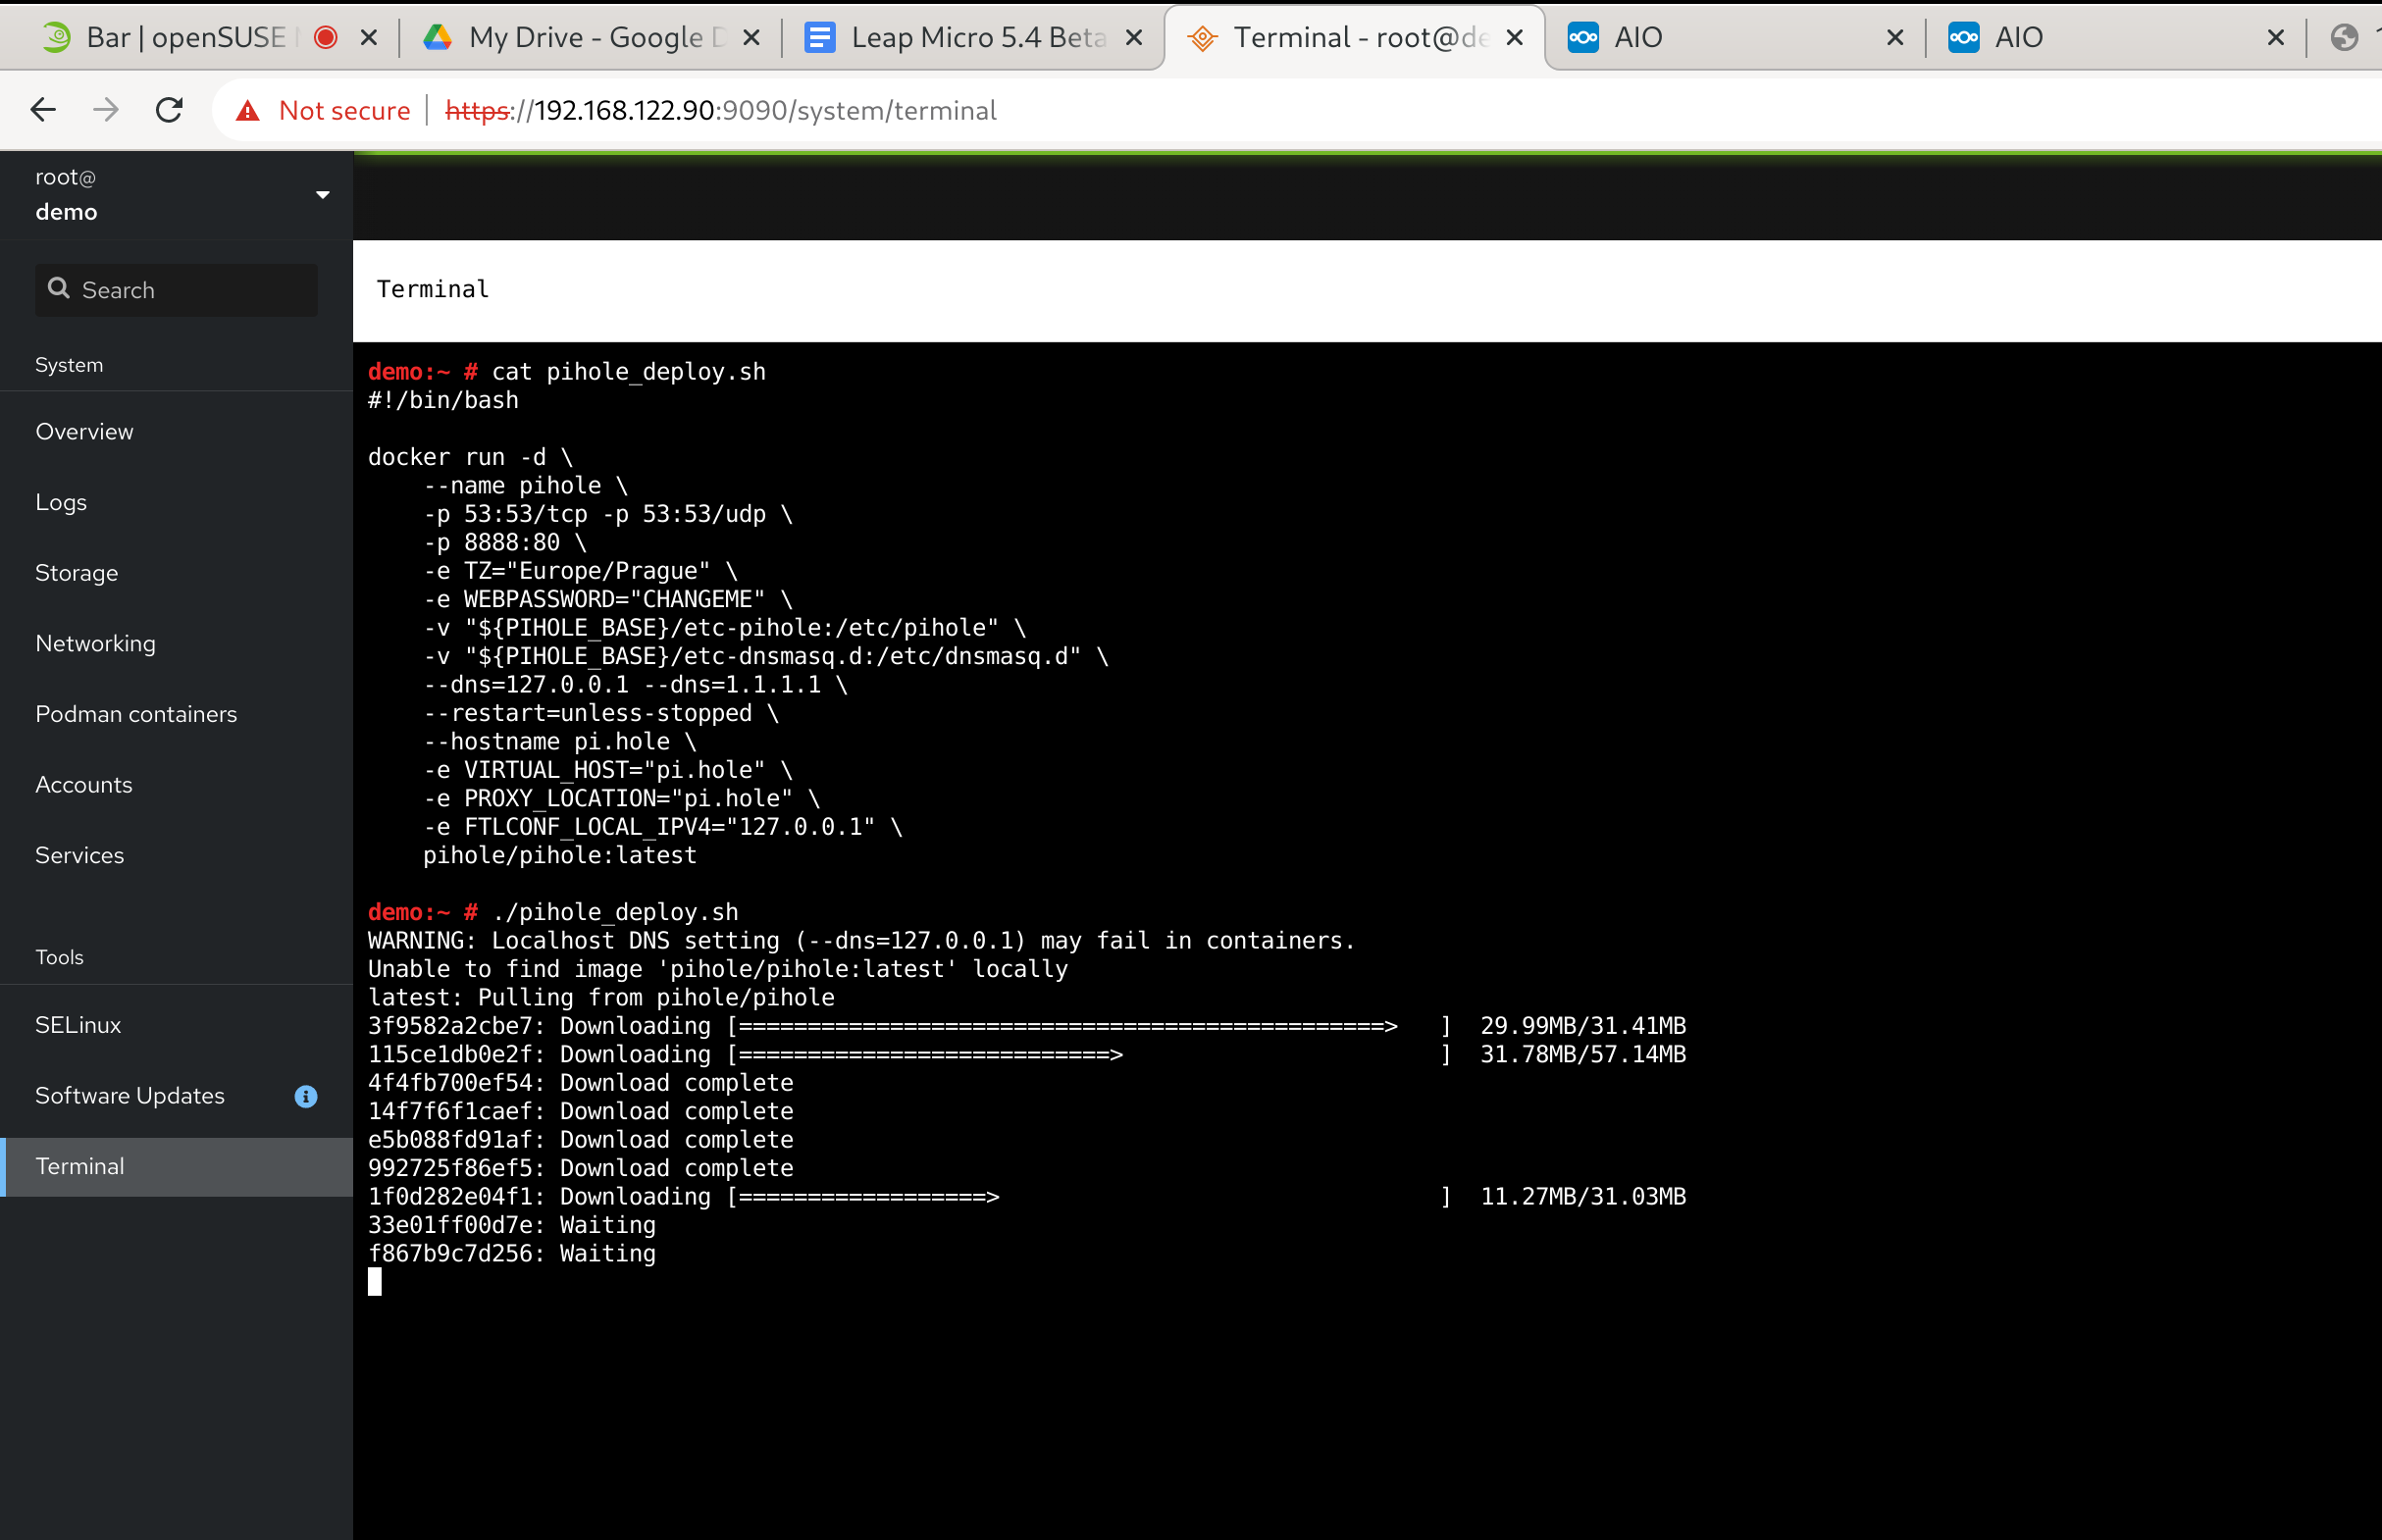
We will follow instructions from https://github.com/pi-hole/docker-pi-hole#readme. This part took me literally two minutes.
This is essentially a copy-paste from the readme that runs the Pi-hole container in the background. Please change the password and set your time zone. Pay special attention to the host-to-container port mapping -p HOST_PORT:CONTAINER_PORT especially if you are running multiple workloads.
The -p 8888:80 says that we are mapping port 8888 of the Host to port 80 (web management interface) in the container. Port 53 (DNS) is mapped to the same port in the container.
You can store this in a wrapper e.g. /root/pihole_deploy.sh
Docker volume
In this example, we’re passing local /root/etc-pihole and /root/etc-dnsmaq.d directories to the container as Docker volumes where they’ll be present as /etc/pihole and /etc/dnsmasq.d respectively.
# mkdir -p /root/etc-pihole /root/etc-dnsmasq.d
# docker run -d \
--name pihole \
-p 53:53/tcp -p 53:53/udp \
-p 8888:80 \
-e TZ="Europe/Prague" \
-e WEBPASSWORD="CHANGEME" \
-v "/root/etc-pihole:/etc/pihole" \
-v "/root/etc-dnsmasq.d:/etc/dnsmasq.d" \
--dns=127.0.0.1 --dns=1.1.1.1 \
--restart=unless-stopped \
--hostname pi.hole \
-e VIRTUAL_HOST="pi.hole" \
-e PROXY_LOCATION="pi.hole" \
-e FTLCONF_LOCAL_IPV4="127.0.0.1" \
pihole/pihole:latest
Please wait until the state is healthy. You can proactively check the state with the following command.
# docker inspect -f "{{.State.Health.Status}}" pihole
Cleanup in case you messed up
# docker rm -f pihole # ^ re-do the above
Accessing Pi-hole web management
At this point, the containerized Pi-hole is already daemonized, and you can access the interface through ip.address.of.this.server:8888/admin
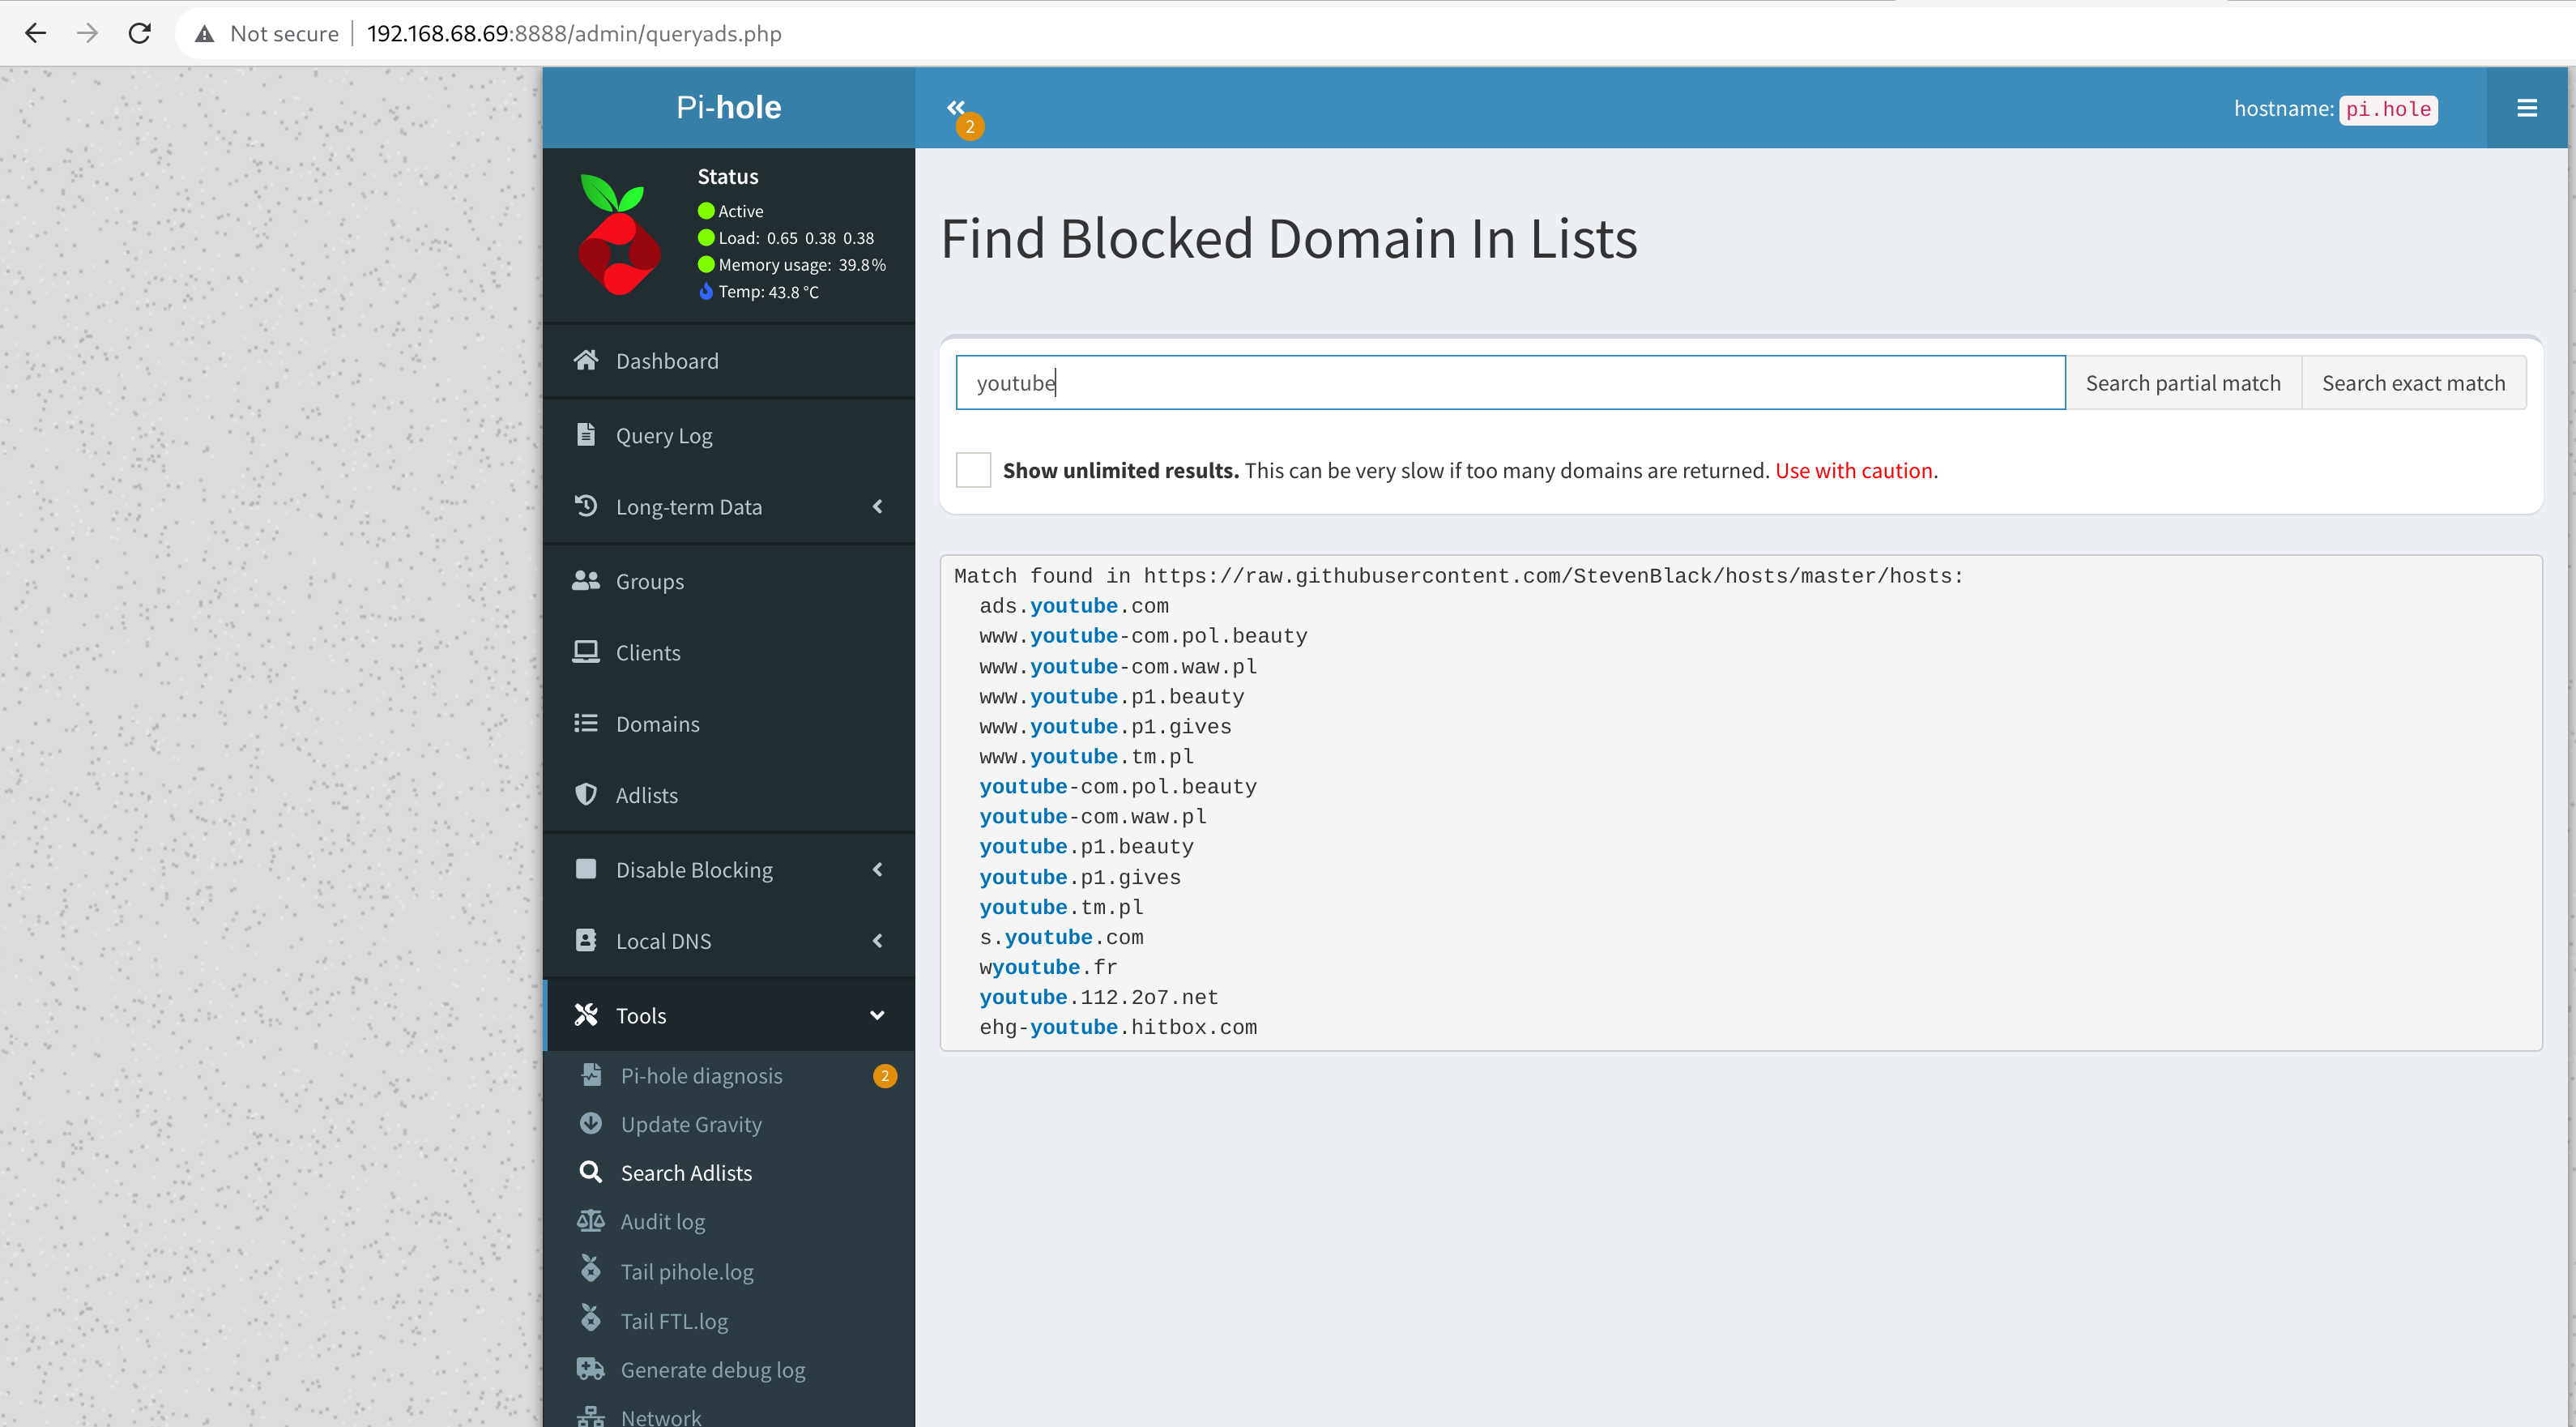
There is a default list; however, I did not find it sufficient for my ad-free youtube experience. You can use a builtin tool to look up further adlists.
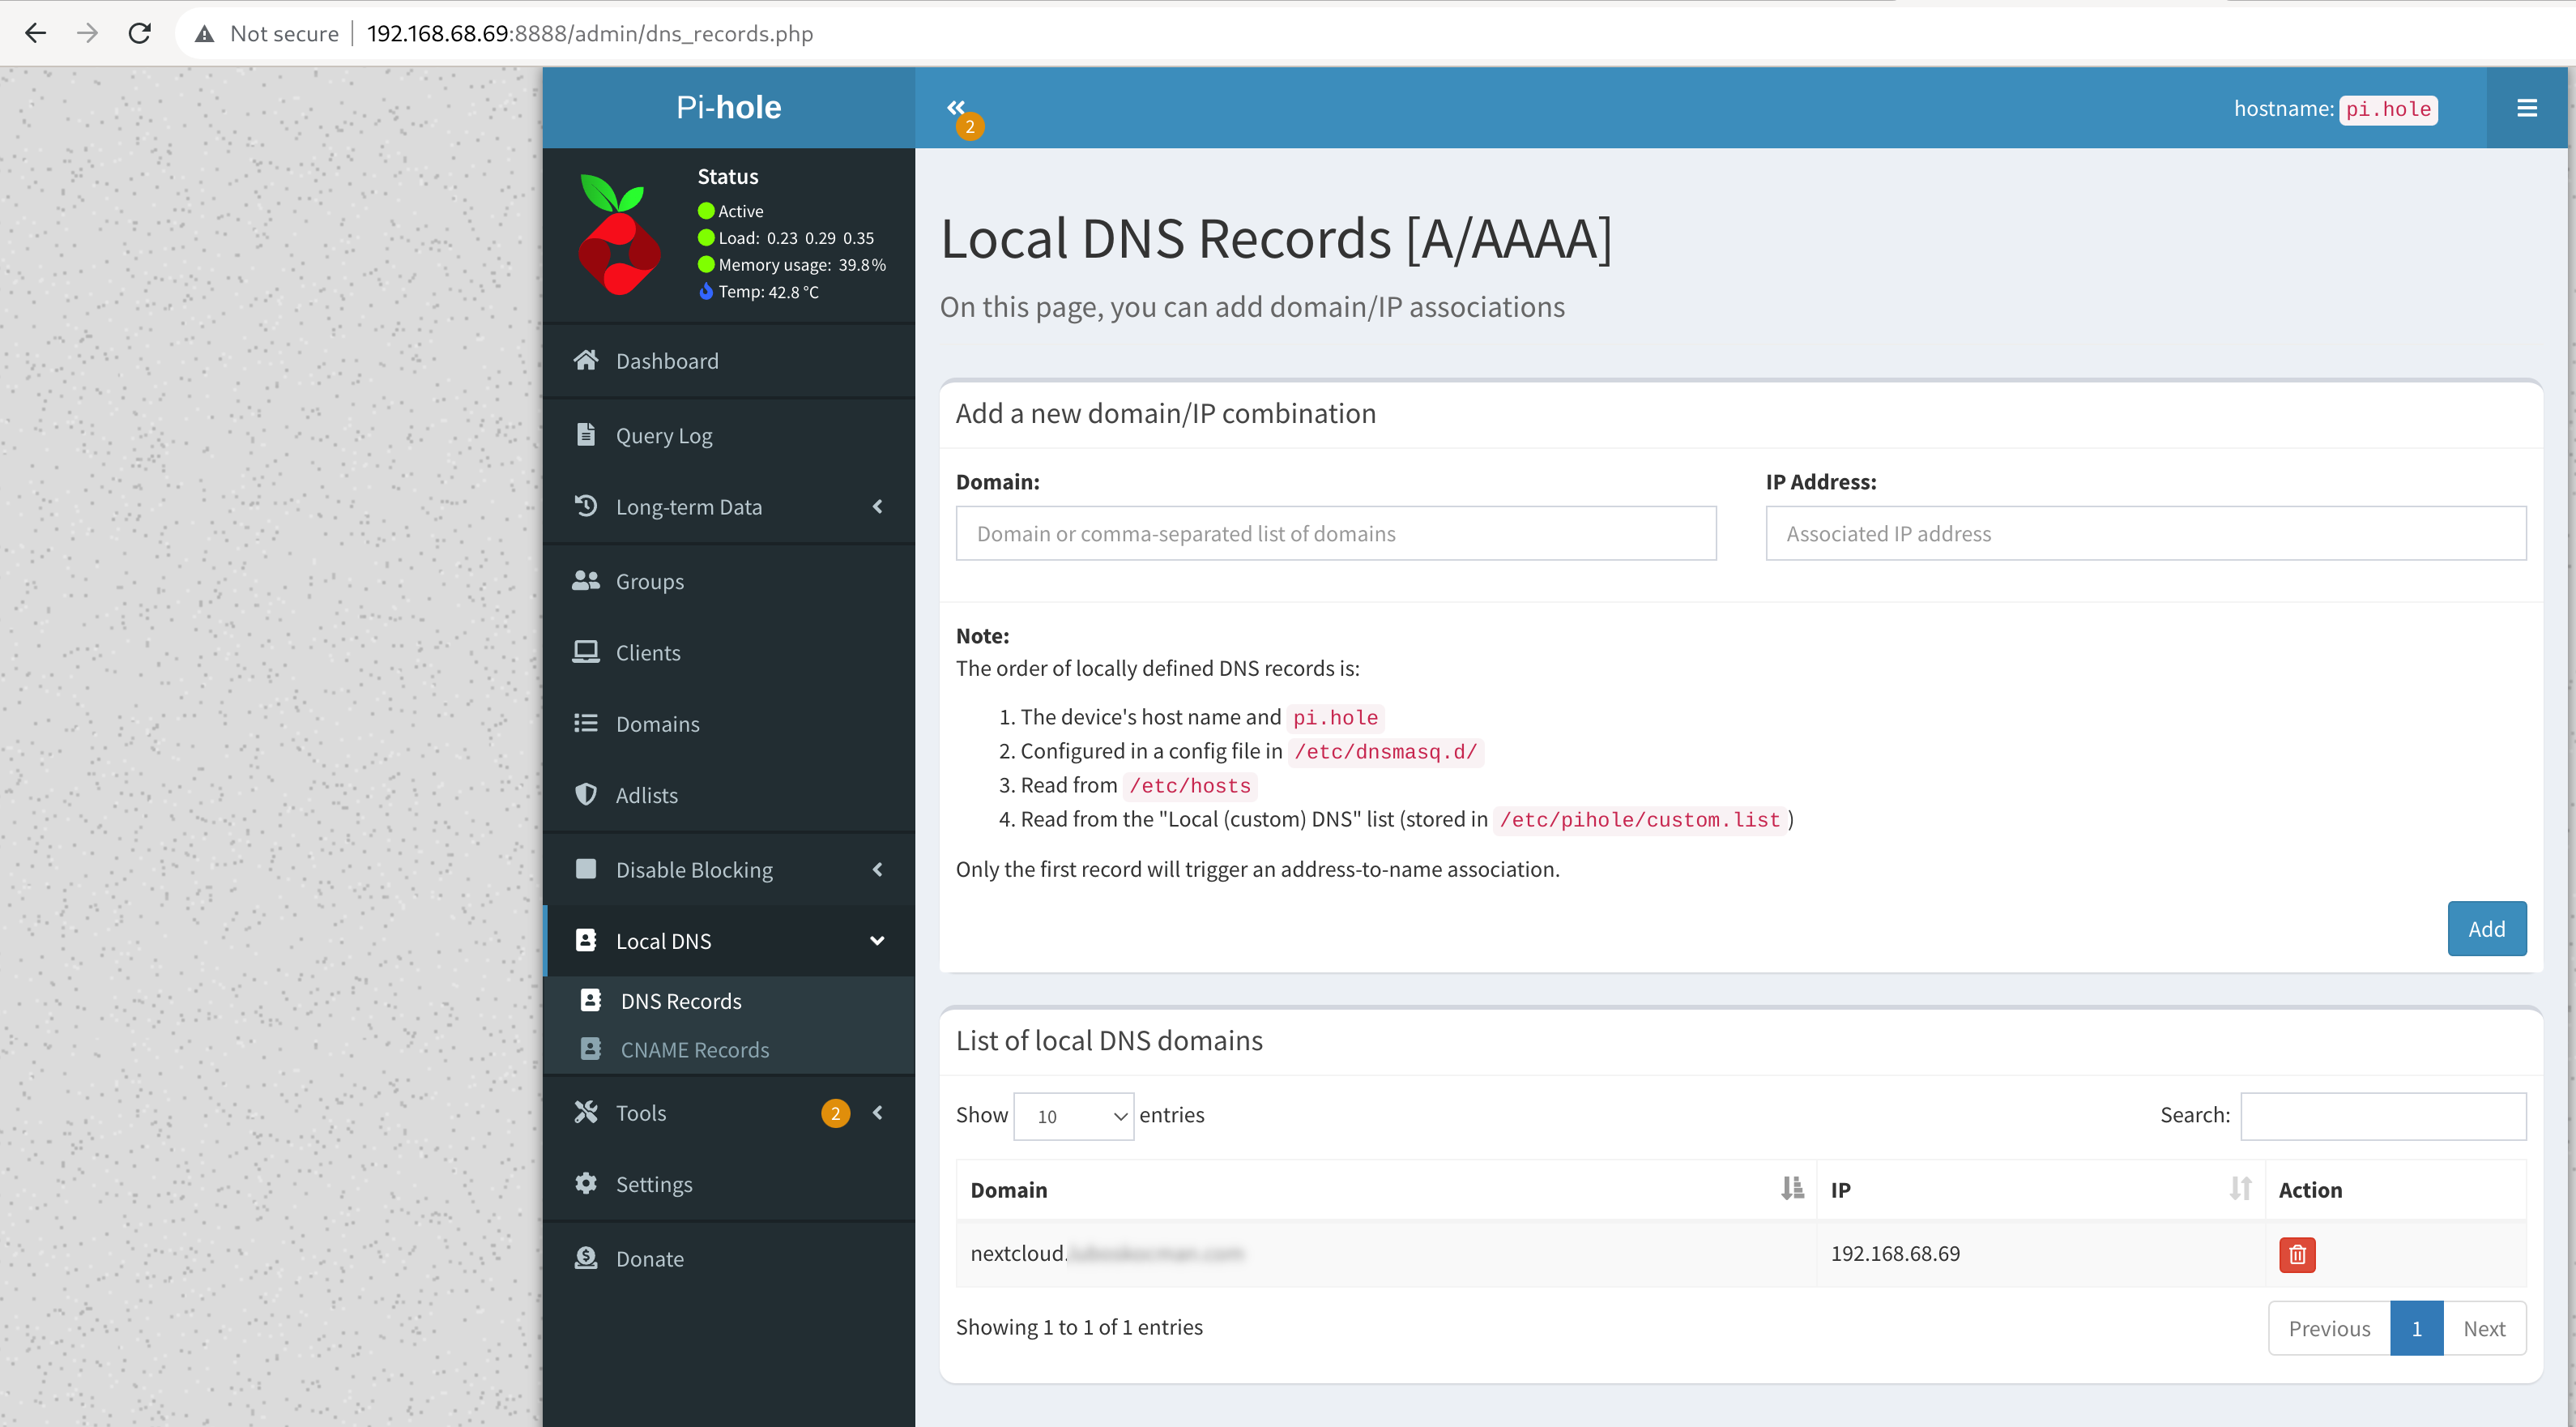
Accessing services with external domain with a local IP
This is especially useful in our Nextcloud example later. Here I create local DNS records with local IP for my public domain, so I can access my NextCloud instance with an external domain name but interact with local IPs.
Using your new home DNS server with adlists
The last step is to configure your router’s DHCP server to use your new pi-hole instance as the DNS server. Please double-check that your end devices are using it as a DNS server. Otherwise, it will have no effect. In the example case, I did manually set the DNS entry in the DHCP settings of my TP-Link Deco to ip.address.of.this.server (in my case 192.168.68.69).
Tip: I find the function to temporarily disable blocking in case I am trying to debug issues with accessing certain sites.
And we’re done. Have a lot of fun!
Categories: Announcements openSUSE Leap Micro
Tags: openSUSE SUSE Developers Open Source linux home adblock containers